
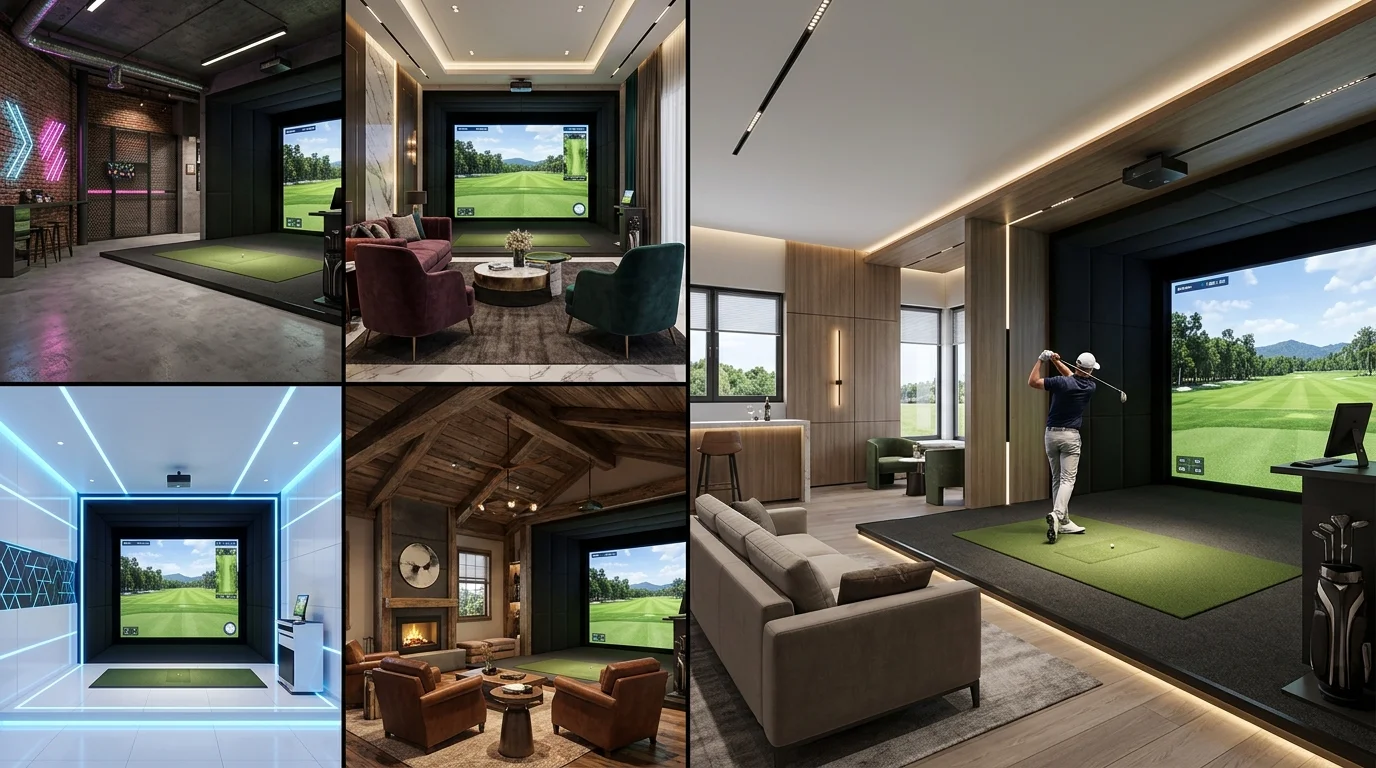
Who says you need a tee time to work on your swing? Modern golf simulator room design lets you play 18 holes in your basement, garage, or spare bedroom without a single traffic jam. A smart layout protects your screen, your ceiling, and your sanity. It also makes your bay look seriously good.
This guide suits anyone planning a home golf simulator setup, from first-timers with a garage corner to serious players building a dedicated hitting bay. You will learn 30 layout, lighting, screen, and launch monitor ideas, plus my own tips, so you can build a room you actually use.
Dedicated Basement Golf Simulator Room
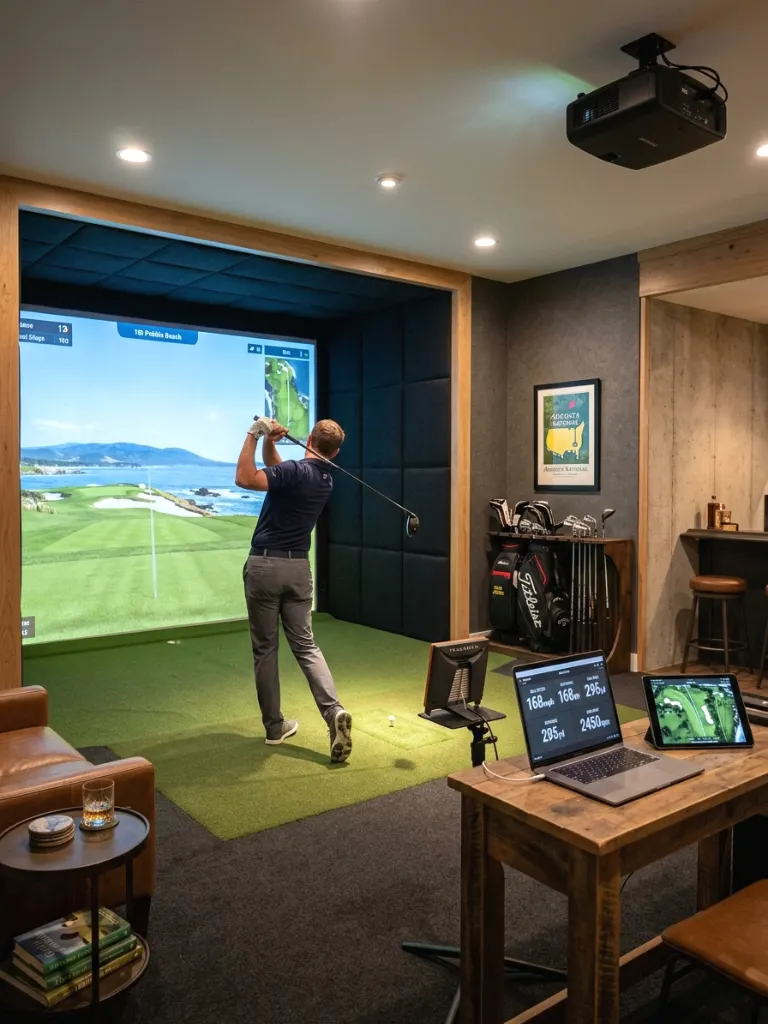
A basement gives you privacy, stable temperatures, and few windows to fight. Concrete walls and low light suit an impact screen perfectly. The main challenge is ceiling height, since many basements hang at 8 feet or less, so measure before you buy anything.
Aim for at least 10 feet of ceiling, 12 feet of width, and 15 feet of depth. Swing a club overhead first to test your arc. Extra depth also helps radar launch monitors read ball flight accurately.
Pro Tips:
- Mark your swing arc on the floor with painter’s tape before you commit.
- Check for ducts and pipes that hang below the ceiling line.
Garage Golf Simulator Conversion
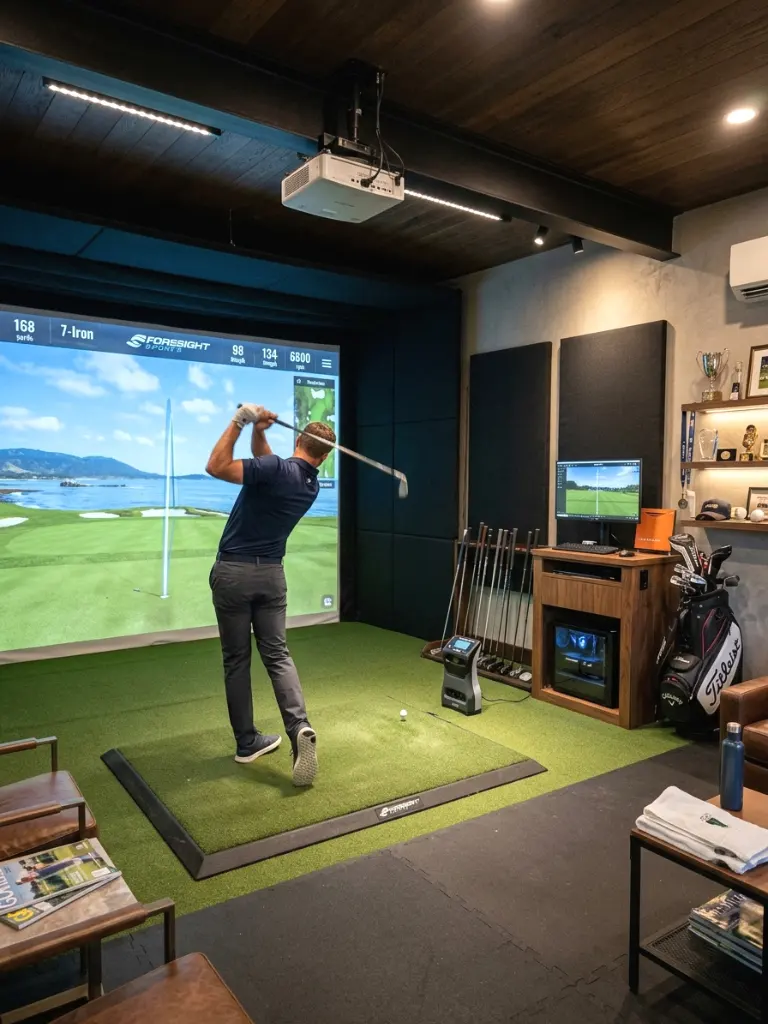
Garages give you the most space per dollar, especially two-car bays with tall ceilings. You can park on one side and hit on the other. A roll-up door even lets you swing at real range balls on nice days.
Hang a blackout curtain to divide the hitting area from storage, and lay a rubber floor to protect the concrete. Seal drafts around the door so your screen stays still during full swings.
Pro Tips:
- Insulate and heat the space if you play through winter.
- Choose a foldable enclosure so the car still fits.
Dark and Moody Matte Black Walls
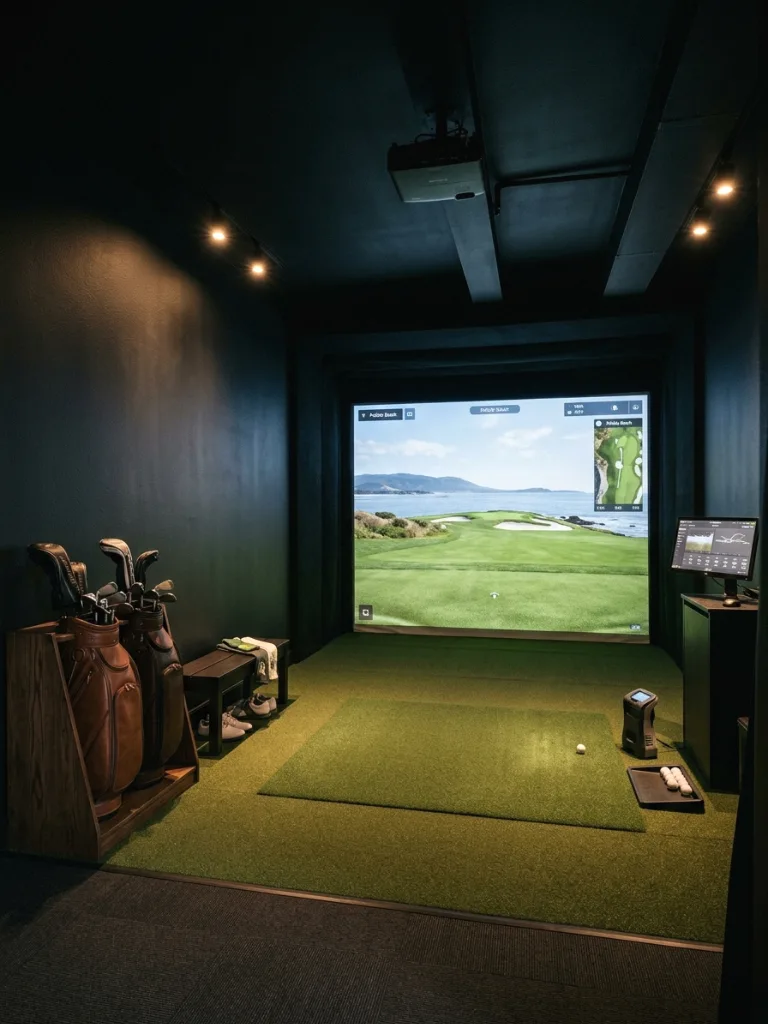
Dark walls make projected images pop. Matte black or deep charcoal paint absorbs stray light and kills reflections around the screen. The room feels like a private tour-level studio instead of a leftover corner. I painted my own bay charcoal, and the picture looked sharper overnight.
Use flat paint only, since glossy finishes bounce projector light back at you. Paint the ceiling dark too, then add warm accent lighting so the room does not feel like a cave.
Pro Tips:
- Test three shades under projector light before you roll the walls.
- Pick washable matte paint to handle scuffs from stray balls.
Wood Slat Accent Wall Behind the Screen
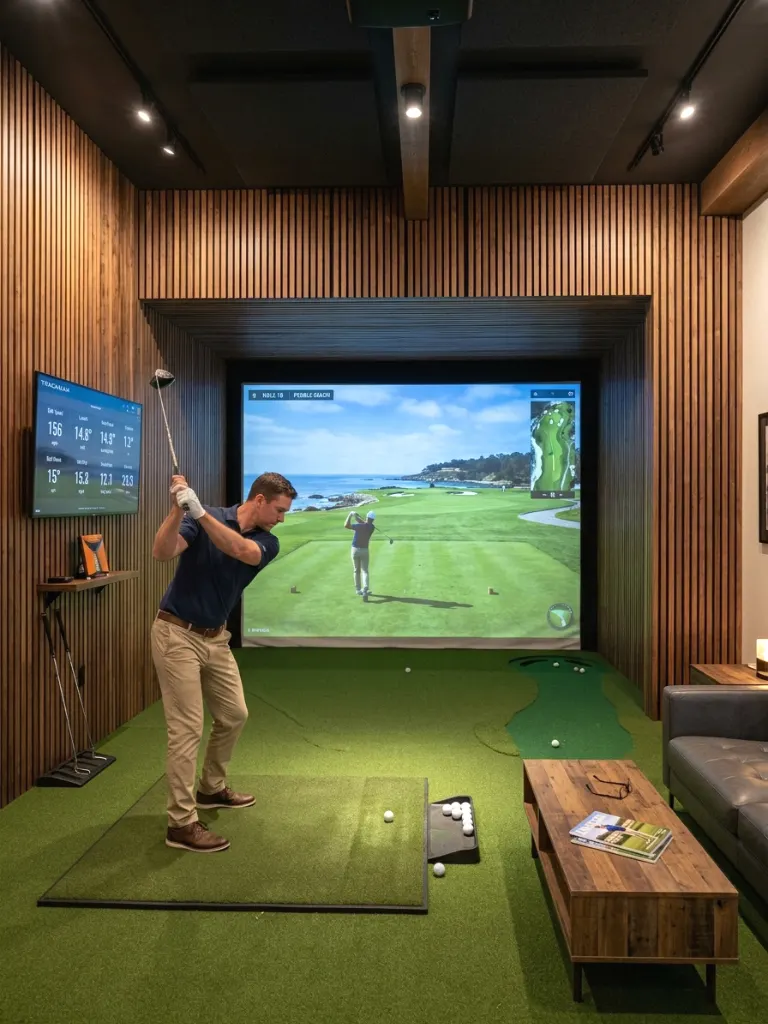
Who needs a plain drywall backdrop? A wood slat wall brings warmth to a tech-heavy room. Vertical oak or walnut slats frame the impact screen and give the bay a boutique-hotel look. They also break up sound reflections, so ball strikes feel less harsh.
Mount slats over acoustic felt backing for better sound control. Keep them a few inches clear of the screen edge, and stick with matte stain so nothing shines under projector light.
Pro Tips:
- Buy pre-finished slat panels to cut install time.
- Tuck LED strips behind the slats for a soft glow.
Floor-to-Ceiling Impact Screen Wall
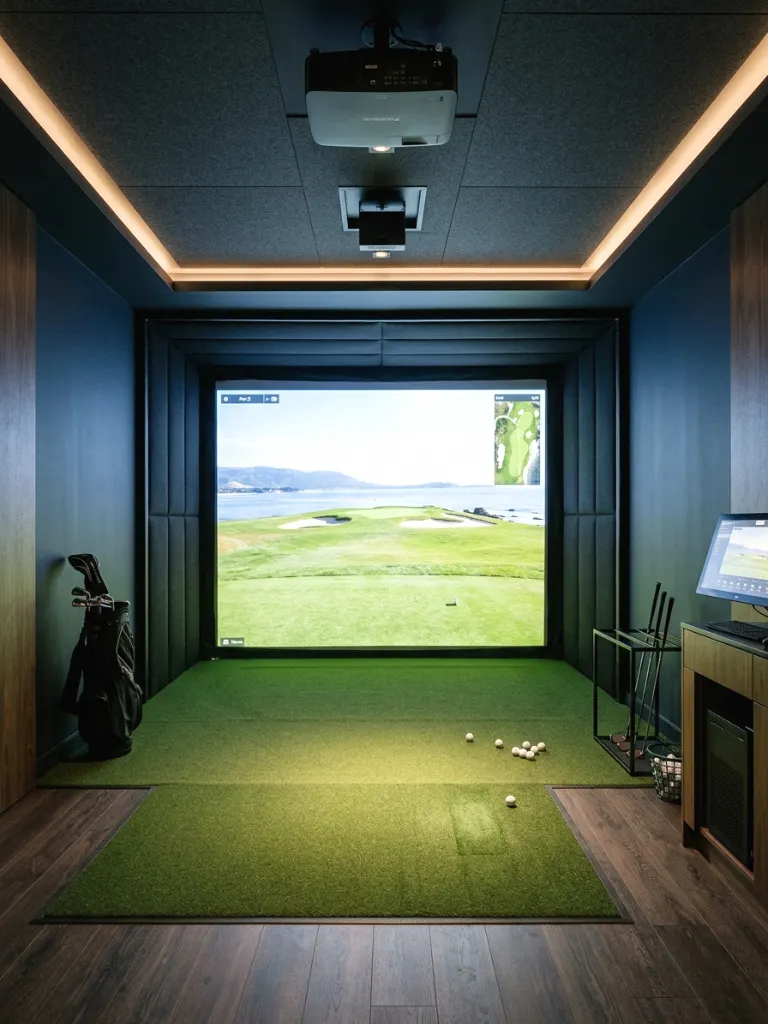
A full-height impact screen makes the room feel bigger and stops errant shots from reaching your drywall. Screens from brands like Carl’s Place and Sunrise Golf use multi-layer fabric that absorbs ball energy and delivers a crisp picture.
Tension the screen with bungee cords or a rigid frame, and leave 12 to 18 inches between the screen and the back wall. That gap lets the fabric absorb impact instead of slinging balls back at you.
Pro Tips:
- Match the screen ratio to your projector (16:9 or 16:10).
- Pull the fabric tight to avoid ripples in the image.
Ceiling-Mounted Projector Setup
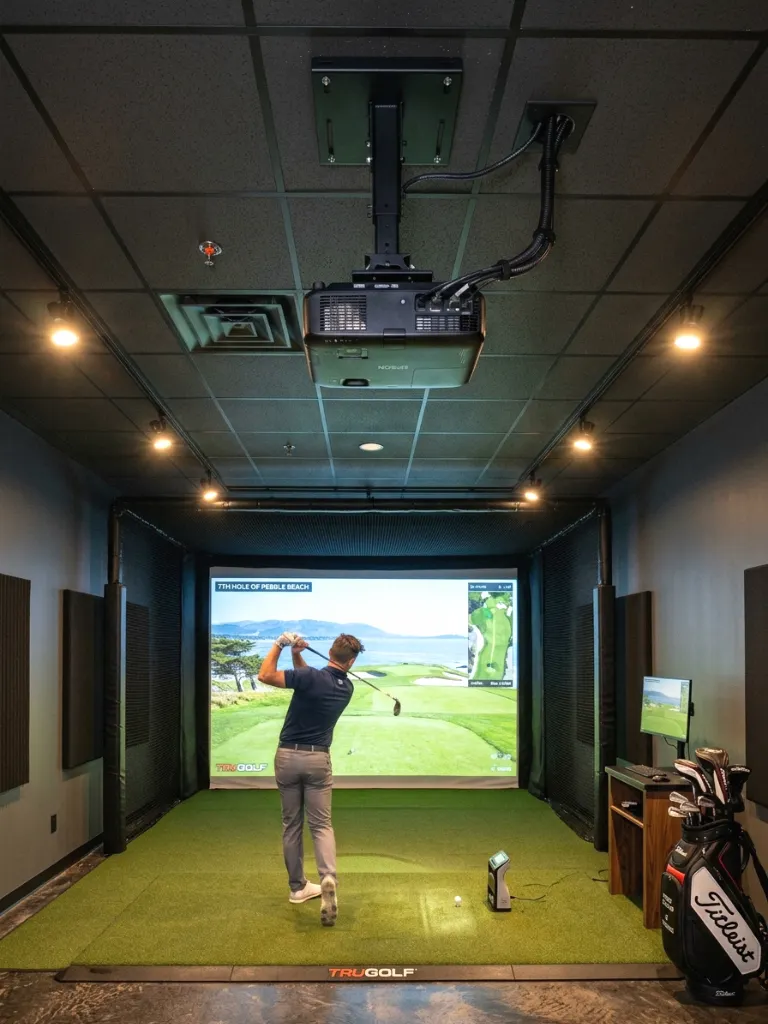
A ceiling-mounted projector keeps the light path clear of your swing and hides the hardware. Models from Optoma, BenQ, and Epson deliver bright, low-latency images in dark rooms. Nobody wants to clonk a lens with a driver, so mount it overhead and behind you.
Check your projector’s throw ratio to find the exact mounting distance. Use lens shift to fine-tune the picture, and pick 3,500 lumens or more if any ambient light sneaks into the room.
Pro Tips:
- Use a vibration-dampening mount so swings never shake the image.
- Choose a low input lag model for smoother gameplay.
Short-Throw Projector Solution
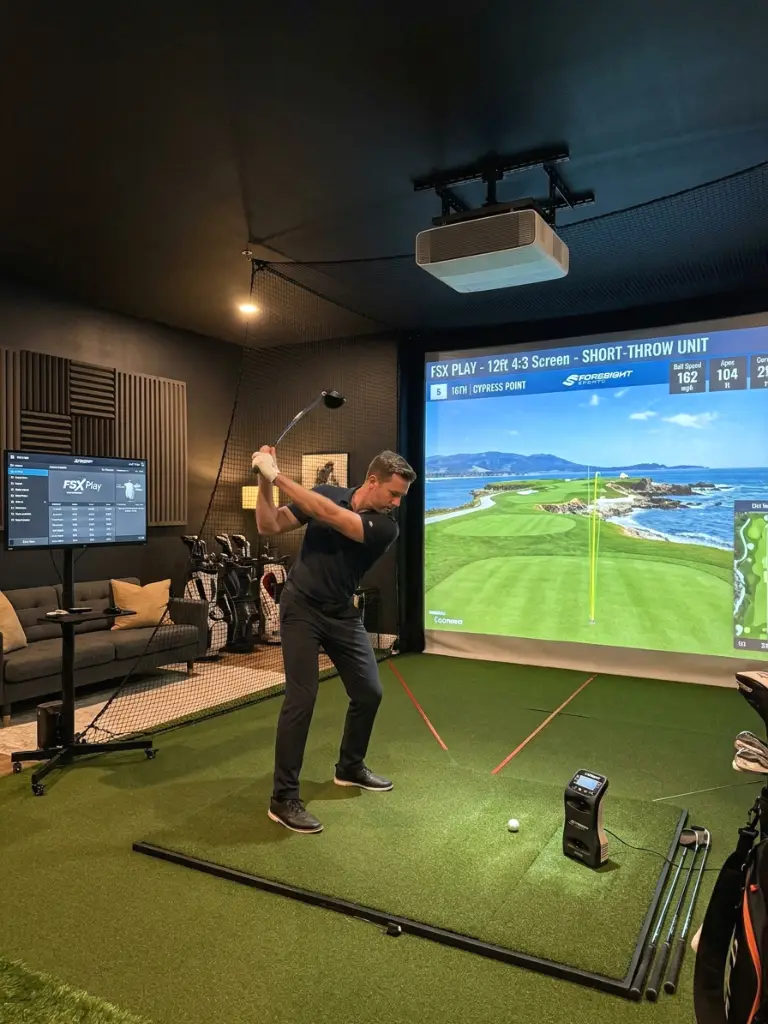
Short-throw projectors sit close to the screen, which suits rooms with low ceilings or tight depth. They cast a large image from just a few feet away. You avoid shadows on the screen and keep the projector out of your swing path. IMO, this fixes most low-ceiling headaches.
Mount it on a ceiling bracket close to the screen, then calibrate keystone correction carefully. Too much correction blurs the edges, so nudge the projector’s position first and use software second.
Pro Tips:
- Shield the lens with netting if it sits near the ball path.
- Check for shadows at your address position before you fix anything in place.
Hidden Side Netting and Ceiling Enclosure
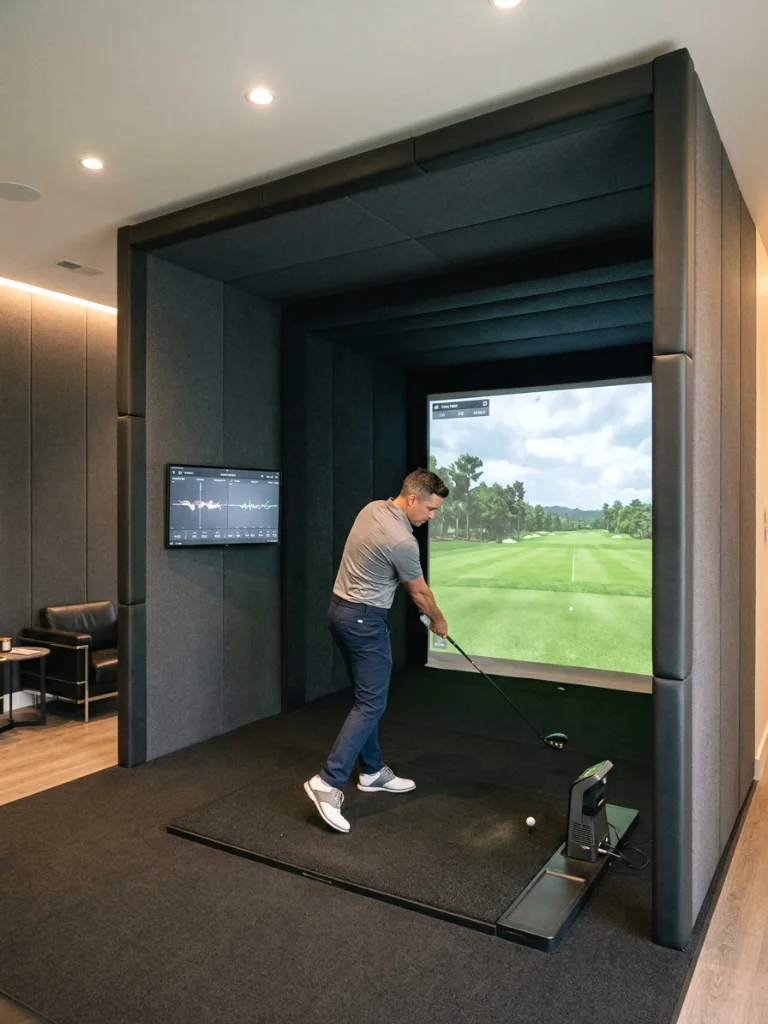
You will hit a bad shot eventually. Everybody does. Side and ceiling netting catches slices and top-shots before they reach your drywall. A quality golf simulator enclosure uses sturdy frames and thick netting that blends into dark walls.
Size the netting about 3 feet wider than the screen on each side. Add a ball-return ramp at the bottom so shots roll back toward your mat instead of scattering across the floor.
Pro Tips:
- Hang netting a few inches off the walls so it absorbs impact.
- Inspect seams and grommets every few months.
Turf Hitting Strip with a Fairway Feel
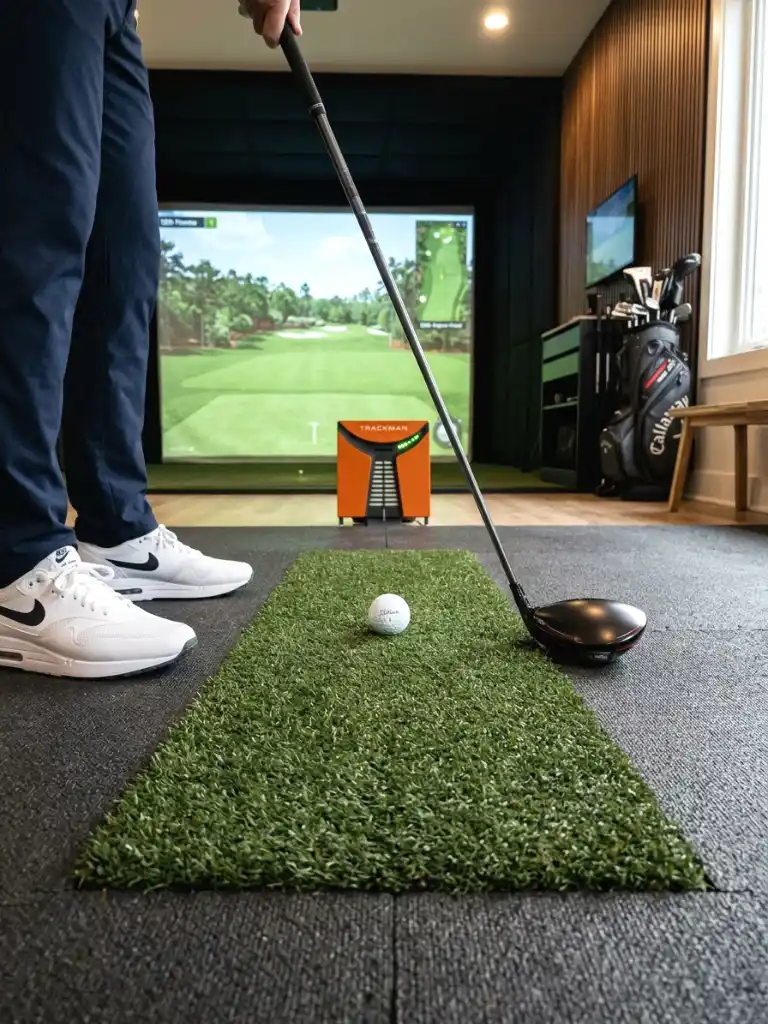
Ever felt elbow pain after a long range session? A quality hitting mat protects your clubs and your joints. Turf from Fiberbuilt, Real Feel, and Country Club Elite gives you a fairway-like surface that reads well on launch monitors. Thicker mats also reduce vibration.
Choose a mat at least 5 by 5 feet so you can shift your stance and practice different lies. Place it on a rubber base to stop it from sliding mid-swing.
Pro Tips:
- Rotate the mat every few weeks for even wear.
- Add a separate tee strip for driver practice.
Built-In Putting Green Corner
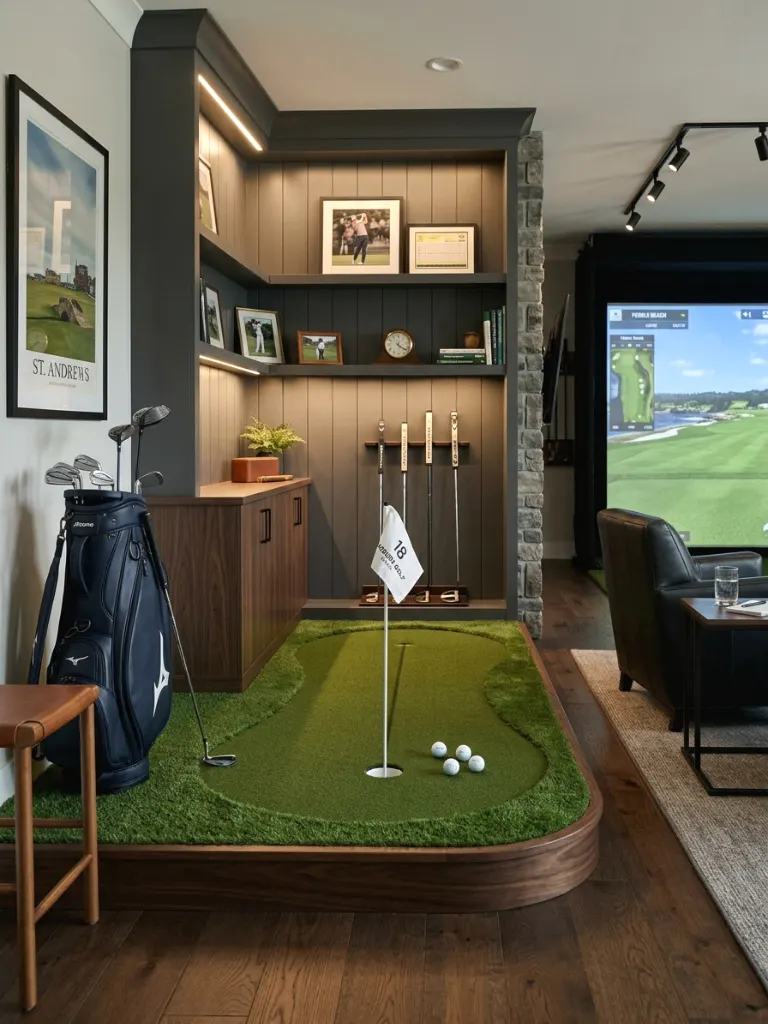
A small putting green turns dead space into a short-game lab. Even a 4-by-12-foot strip lets you work on speed, line, and lag putts between sim rounds. Synthetic turf from SYNLawn and Tour Greens feels surprisingly true.
Build the strip beside the hitting area with a clean edge and a cup at one end. Match the turf color to your palette so both spaces read as one design.
Pro Tips:
- Level the base carefully, because a slope you did not plan will wreck your practice.
- Add a low spotlight to define the green.
Recessed LED Ambient Lighting
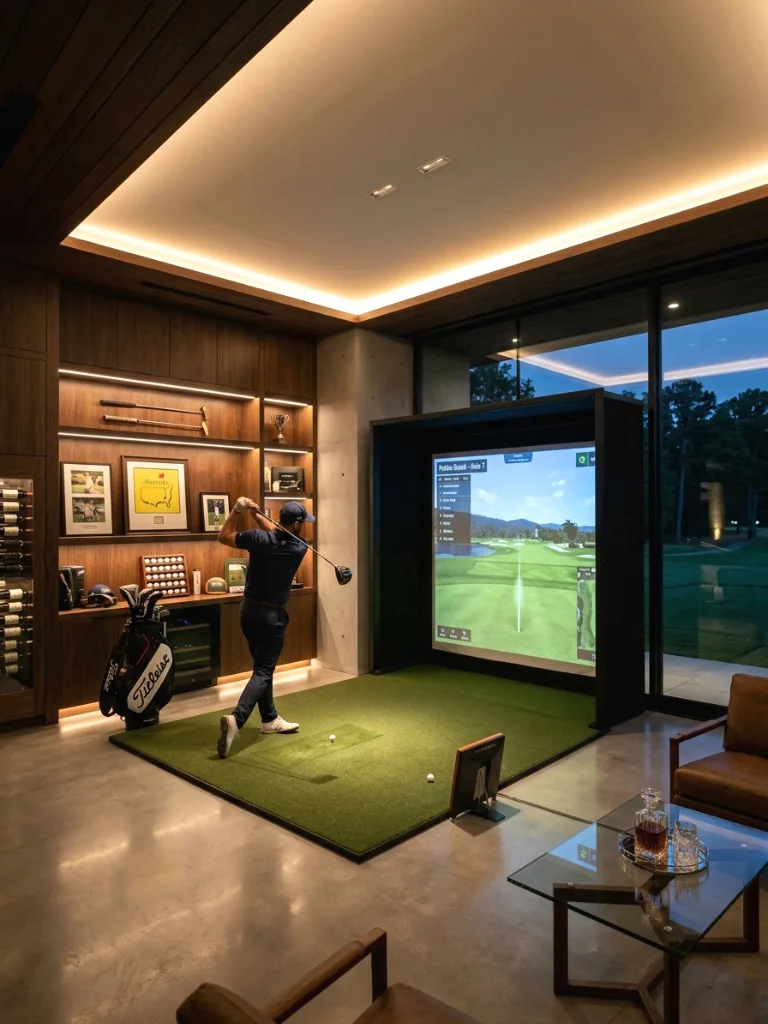
Recessed LED fixtures give the room a clean glow without hanging anything near your swing. Warm, dimmable cans around 2700K keep the space cozy while limiting glare on the screen. FYI, aim each light at walls or the floor, never straight at the impact screen.
Install lights toward the back and sides of the room. Add an LED strip along the baseboard for gentle ambient lighting, which also helps you see the mat when the projector dims everything else.
Pro Tips:
- Choose fixtures with a high color rendering index (CRI) for natural tones.
- Keep all lights on dimmers.
Zoned Lighting Scenes

One switch for everything sounds neat, but it ruins projector contrast. Zone your lighting: bright for club fitting and cleaning, dim for play, and nearly off for cinematic rounds. Each zone serves a different mood and a different task.
Use smart switches or dimmers to group circuits. Program a “Play” scene that lowers overhead lights and keeps floor lighting on, so you never lose your footing during a backswing.
Pro Tips:
- Label each scene clearly for guests.
- Keep one bright setting for cleaning and maintenance.
Overhead Launch Monitor Mount
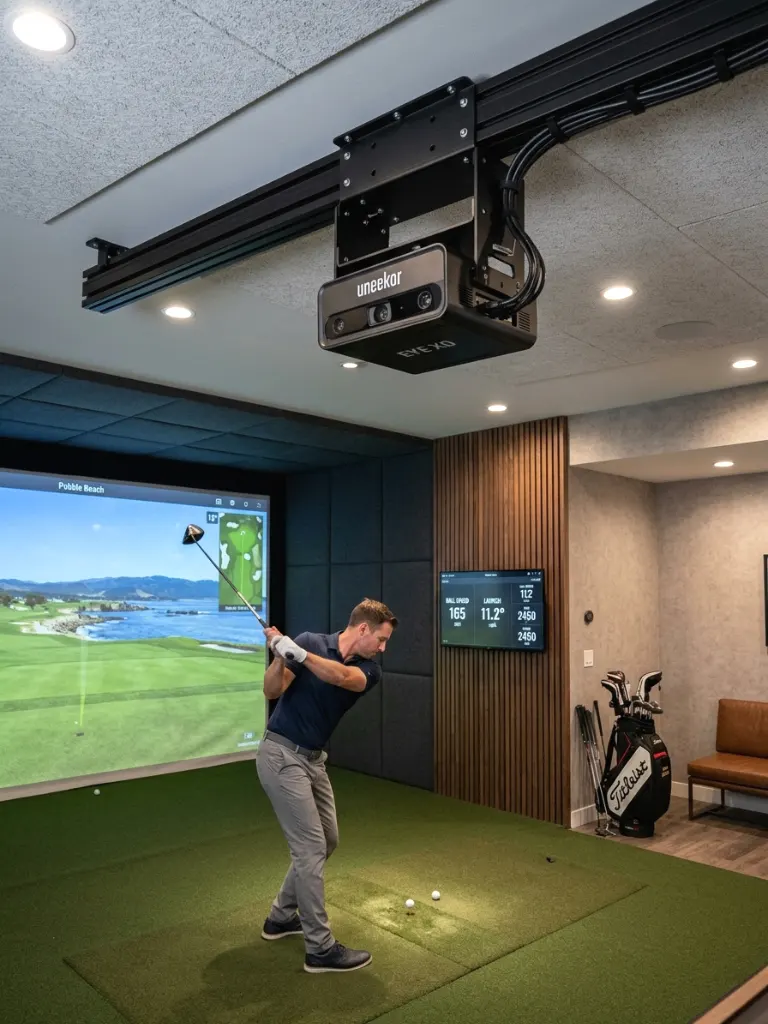
An overhead launch monitor like the Uneekor EYE XO hangs from the ceiling and tracks club and ball with high-speed cameras. It stays out of the hitting zone and works for both left-handed and right-handed players. Sleek and safe? Yes please.
Mount it at the manufacturer’s recommended height and distance from the ball, and confirm the ceiling can support the weight. Run cables through the ceiling to keep the bay tidy.
Pro Tips:
- Screw the mount into joists, never drywall alone.
- Recheck alignment after any ceiling work.
Radar Launch Monitor Positioning
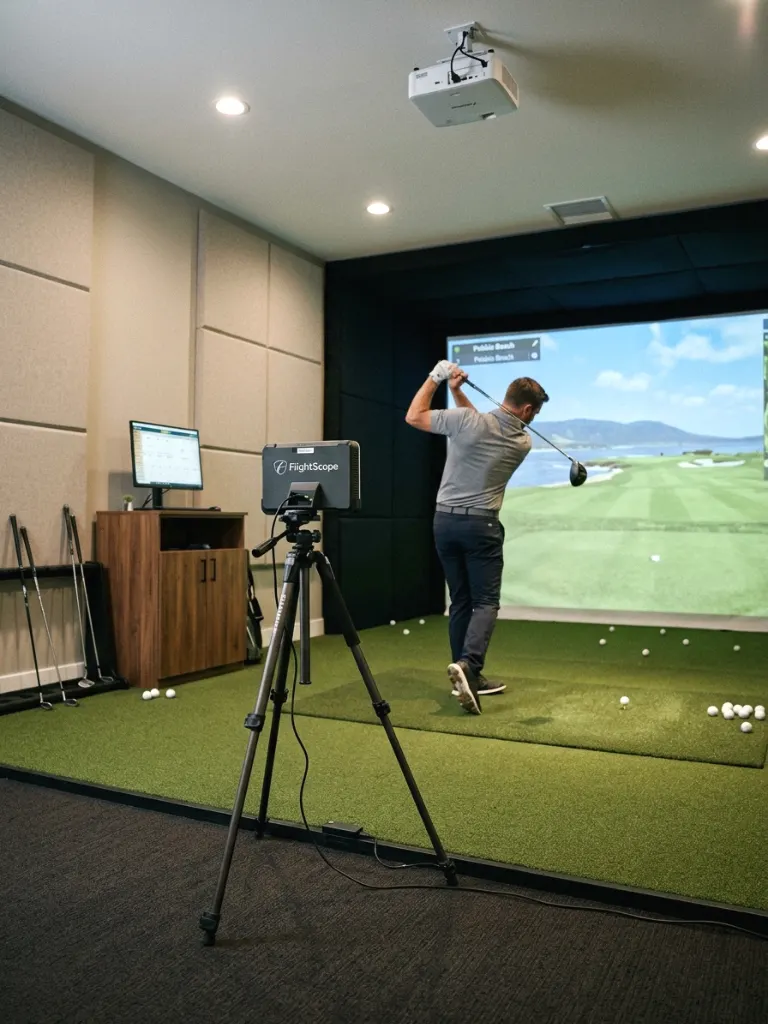
Radar units like Trackman and FlightScope track ball flight through Doppler technology, so they usually need more depth than camera-based systems. That means a longer room, but you get rich ball-flight data as a reward.
Check your model’s minimum distances for ball to screen and unit to ball. Place the unit directly behind the ball on the target line, and level it every session so numbers stay consistent.
Pro Tips:
- Use reflective stickers if your unit requires them.
- Keep the room’s back wall clear of clutter.
Camera-Based Launch Monitor Floor Setup
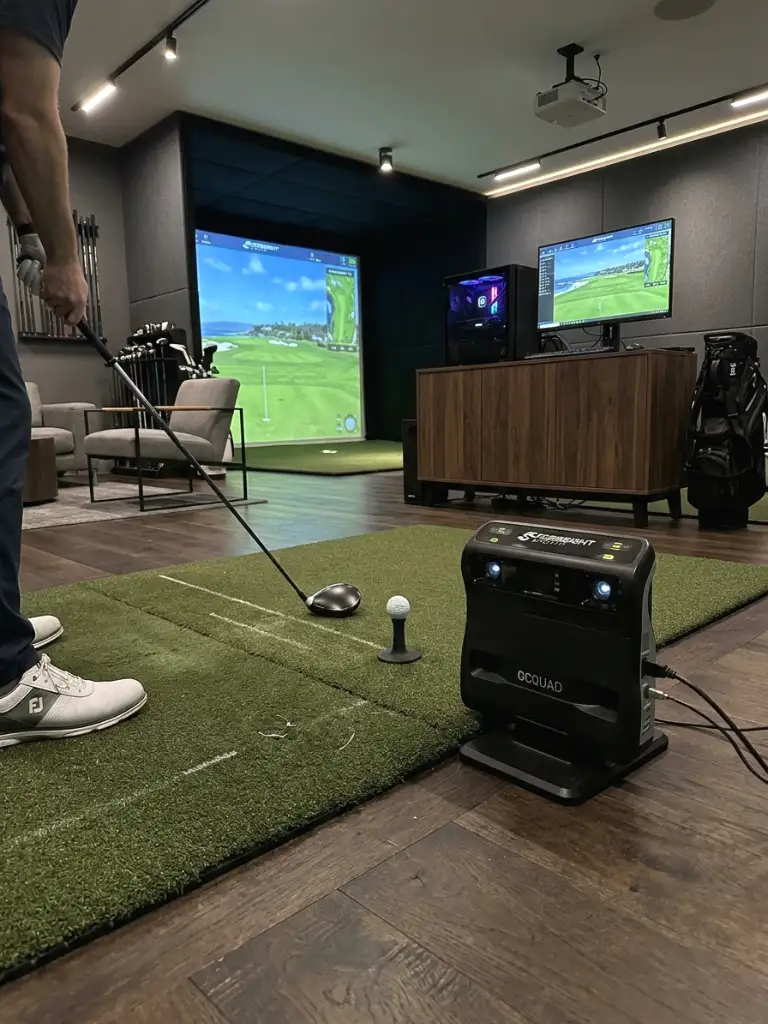
Camera-based units such as the Foresight GC3, GCQuad, and SkyTrak+ sit beside the ball and read it right at impact. They fit tight rooms, since they need less depth than radar. Indoor accuracy is excellent for the money.
Mark the exact unit spot on the floor and level it. Keep shiny objects away from the hitting area, because glare can confuse the cameras, and wipe the lens often.
Pro Tips:
- Update firmware before big sim sessions.
- Store the unit in its case when you finish.
Budget-Friendly Portable Setup
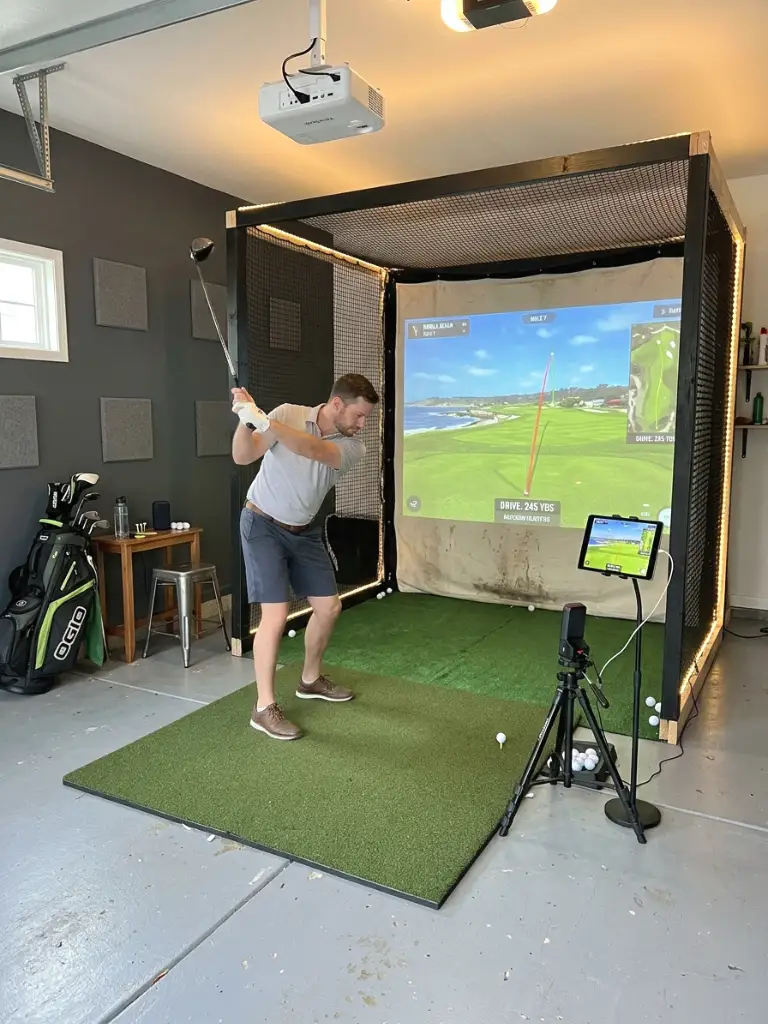
Not ready to spend serious money? A Garmin Approach R10 or Rapsodo MLM2PRO paired with a hitting mat and a simple net gets you playing for a fraction of a premium bay’s cost. It works great in a spare bedroom or garage corner.
Start with a projector and a clean wall, then upgrade one piece each season. Choose folding frames and portable nets so your home golf simulator stays flexible while your budget grows.
Pro Tips:
- Spend on the net and screen first, since they protect your home.
- Buy used equipment from reputable sellers.
Built-In Bar and Lounge Area
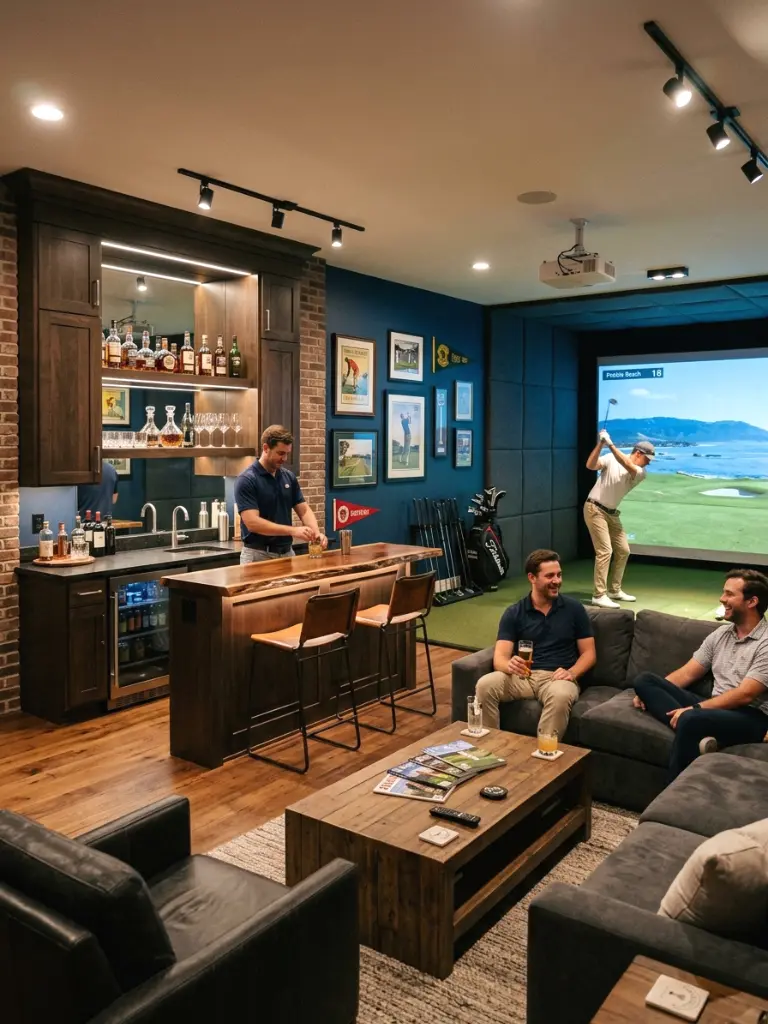
A bar corner turns your bay into the hangout spot. Add a small fridge, stools, and a floating shelf, and suddenly the sim room hosts game nights and post-round debriefs. Your friends will discover they have plenty of free time.
Keep the bar behind the hitting zone, well away from your swing arc. Use dark countertops and low pendant lights so the area matches the moody palette of the room.
Pro Tips:
- Choose a quiet mini fridge, since compressor noise carries.
- Keep drinks off the hitting mat, always.
Club Wall Display
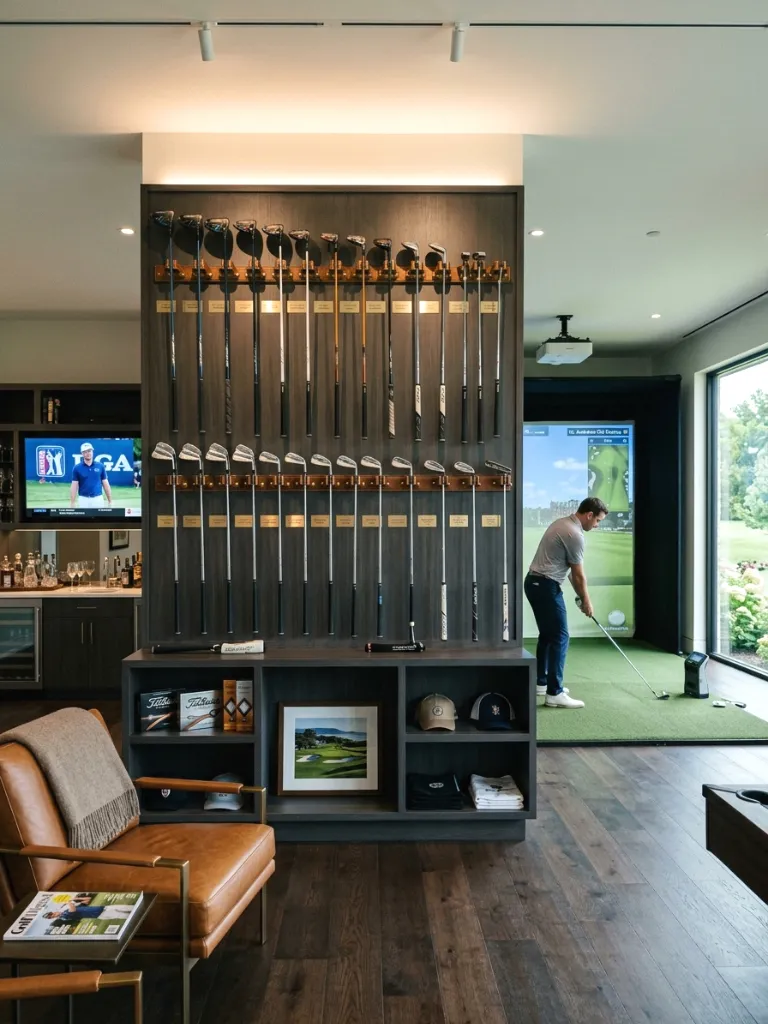
Mounting your clubs on the wall clears floor space and doubles as decor. Use matte black racks or wooden holders and arrange irons by loft. It also speeds up club selection mid-session, so you spend more time hitting and less time digging through a bag.
Screw racks into wall studs at eye level, and space each club far enough apart to avoid clanging. Place the display beside the hitting bay, never in the swing path.
Pro Tips:
- Add a small light above the display for a showroom feel.
- Rotate the clubs you feature by season.
Golf Bag and Gear Nook
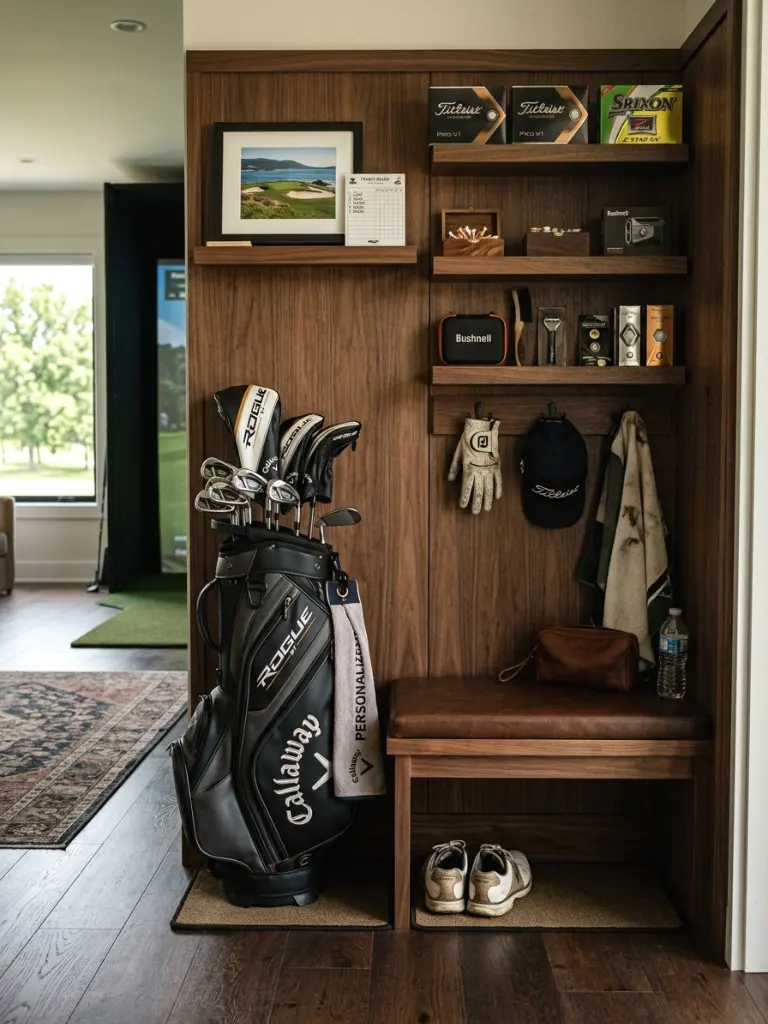
Loose gloves, tees, and towels clutter a room fast. A built-in nook with cubbies, hooks, and a bench keeps everything within reach. It also gives the room a tidy, intentional look that guests notice right away.
Build the nook along a side wall with open shelves for shoes and closed drawers for balls and accessories. Add a shoe tray so dirt stays off your hitting mat.
Pro Tips:
- Use a washable rug under the bench.
- Keep a small towel basket for damp club grips.
Comfortable Spectator Seating
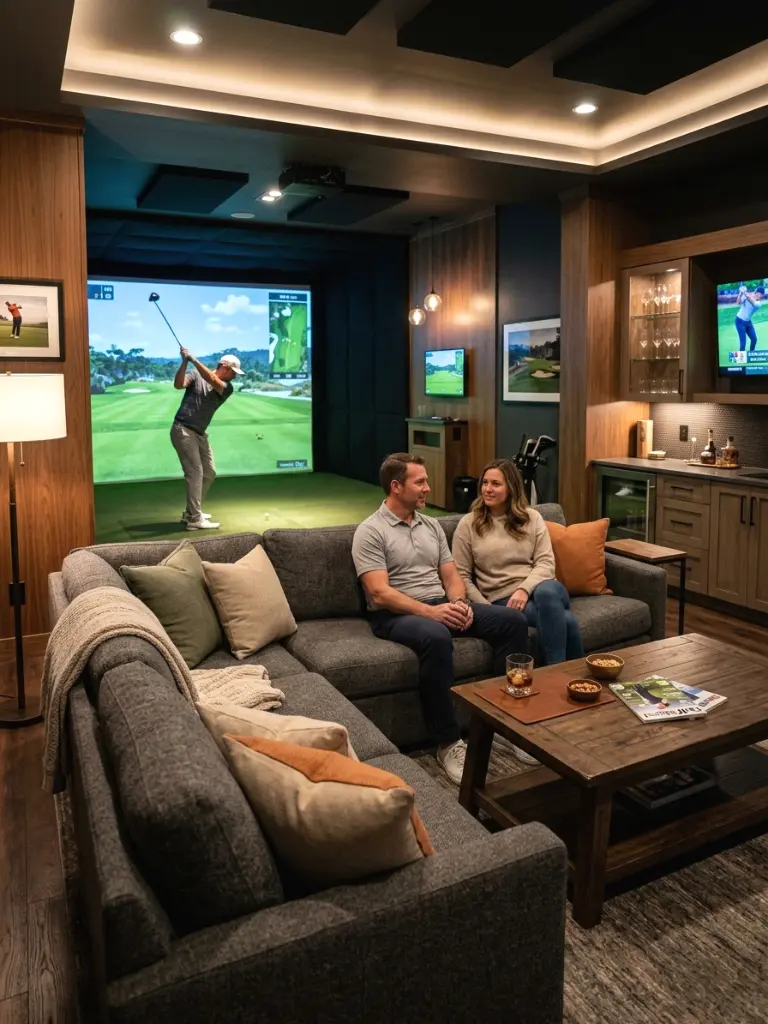
A sim room feels more fun with company. Lounge chairs, a compact sofa, or bar stools let friends watch your round without crowding your swing. Comfortable seating also turns solo practice into a social hangout.
Place seats at least 6 feet behind the hitting area and off the ball path. Choose leather or performance fabric that wipes clean, and pick low-back designs so sight lines stay open.
Pro Tips:
- Angle the seating toward the screen.
- Add side tables for drinks and scorecards.
Acoustic Panels and Sound Control
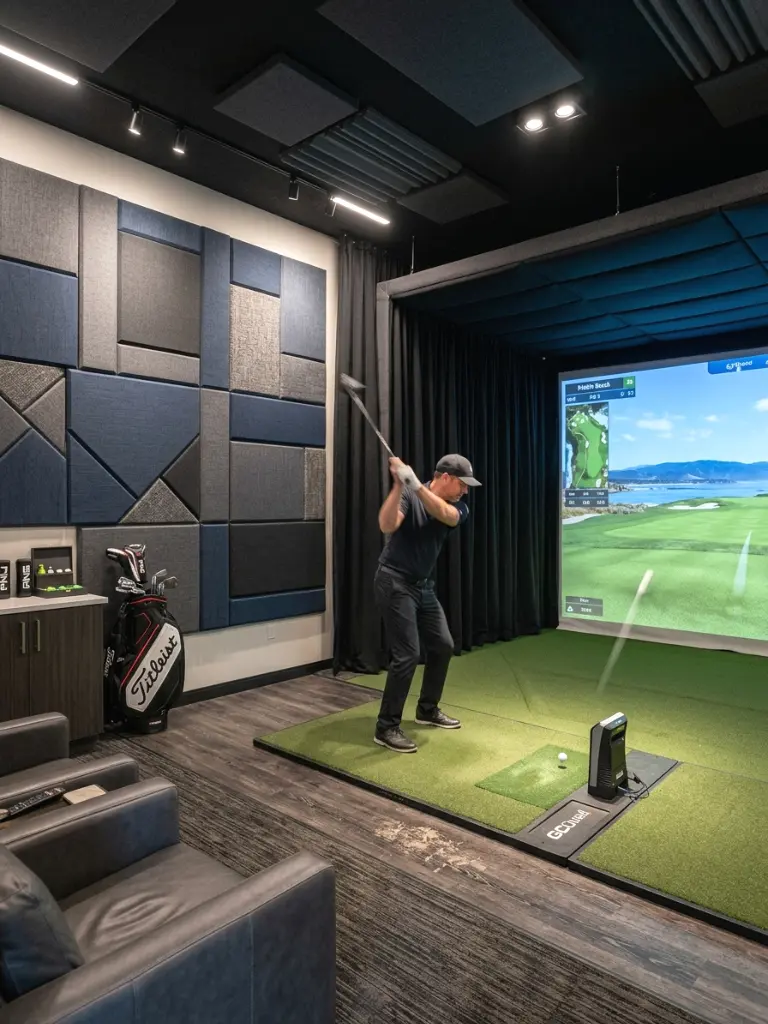
Ball strikes on an impact screen thud louder than most people expect. Acoustic panels behind the screen and on side walls calm the noise and keep the room comfortable during long sessions. They also help if neighbors share a wall.
Use fabric-wrapped panels on side walls and mass-loaded vinyl or dense foam behind the screen. Rubber flooring cuts vibration through the floor, so combine both for the best results.
Pro Tips:
- Treat first reflection points first.
- Seal air gaps around doors to block sound leaks.
Home Theater Sound Integration
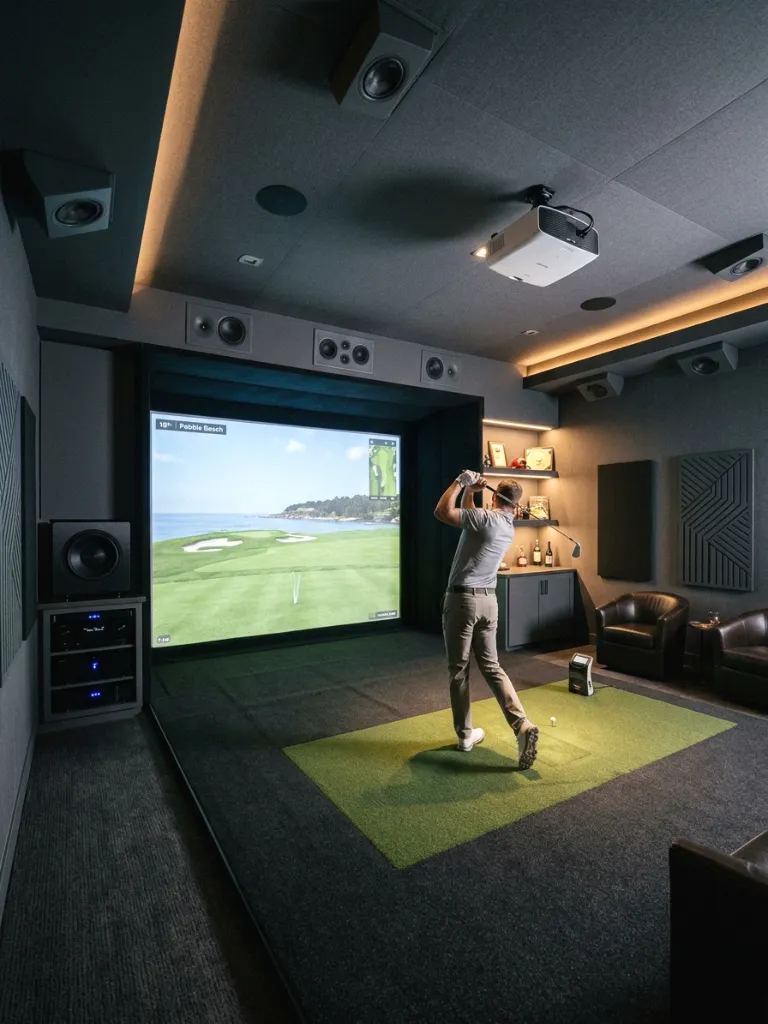
Your bay can double as an entertainment room. A soundbar or surround system pulls in crowd noise, course ambience, and Sunday tournament broadcasts. It adds real atmosphere to sim rounds and makes the space useful even when you skip practice.
Mount speakers on side walls and out of range of stray shots. Route cables through conduit, and connect the audio to the same computer that runs your golf simulation software.
Pro Tips:
- Put small speakers behind a protective mesh.
- Test volume levels before you invite neighbors over.
Ceiling Height Hacks for Tight Rooms
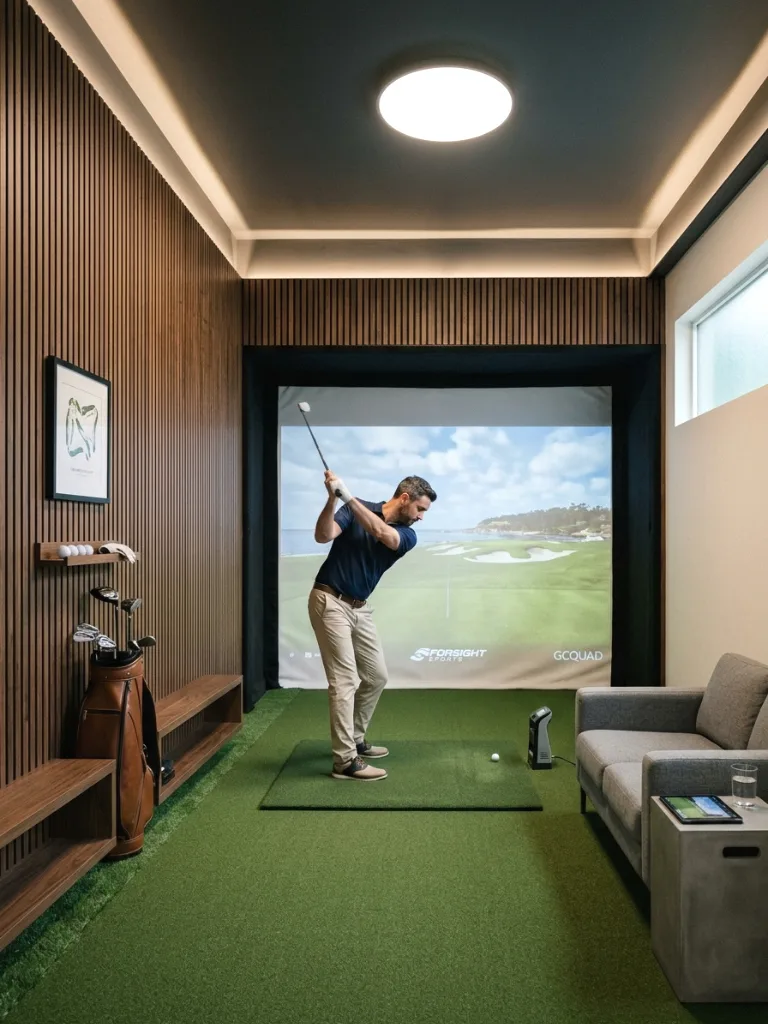
Low ceilings do not have to end the project. Some players cut a swing pocket between joists above the hitting spot, while others use a slightly shorter driver indoors. Position the hitting area under the highest part of the ceiling.
Confirm no wires or pipes hide in the cut area, and ask a licensed contractor to check structural risks. Add a soft cover or padding to the pocket to protect against accidental contact.
Pro Tips:
- Measure your driver swing at full extension.
- Test with a training club before you cut anything.
Rubber Flooring and Layered Base
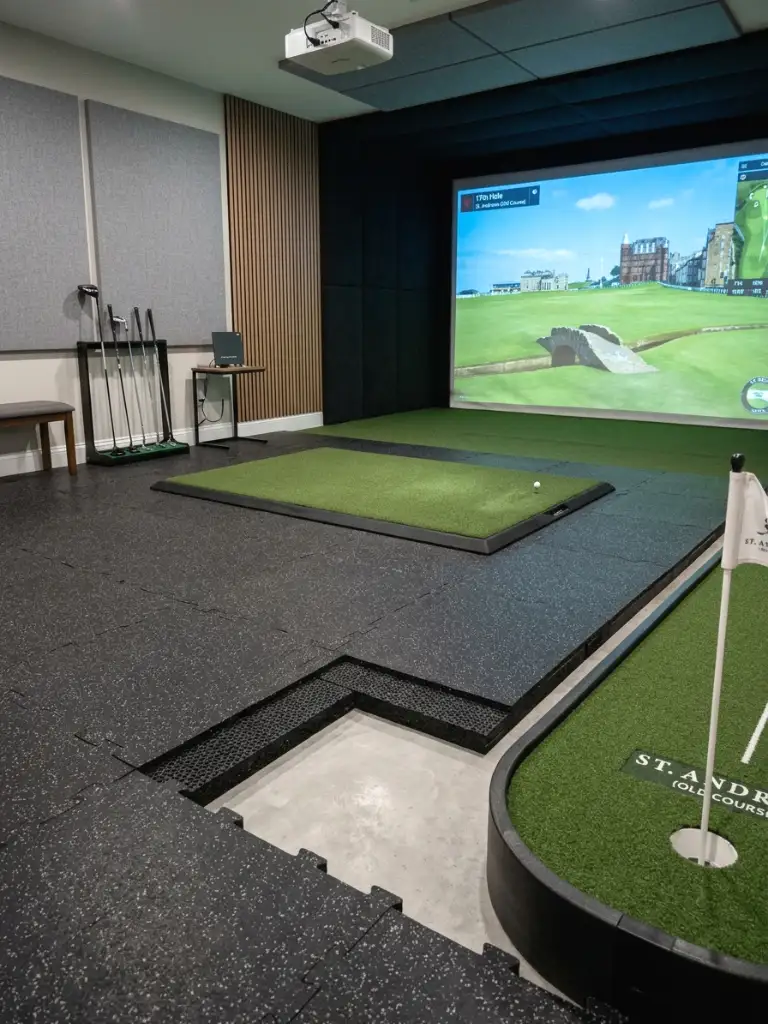
Concrete and hardwood both take a beating from spinning clubs and dropped balls. Rubber tiles under the mat protect the floor and cut noise. They also give you steady footing while you swing hard.
Lay interlocking rubber tiles across the hitting zone, then place your hitting mat on top. Extend the tiles a few feet beyond the mat so your feet never leave the safe surface.
Pro Tips:
- Use tiles at least 3/8 inch thick.
- Clean the surface with a damp cloth to remove chalk dust.
Layout for Left-Handed and Right-Handed Players
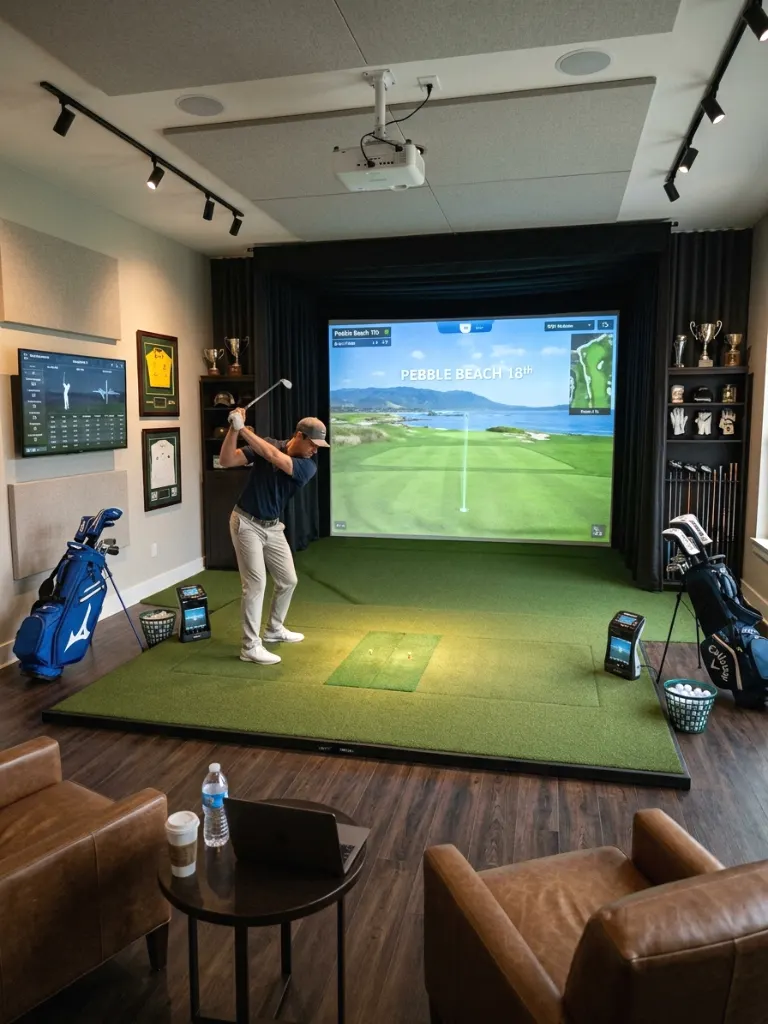
Nothing ruins a group session like a room that only works for righties. A centered hitting area with symmetrical space lets everyone swing comfortably. Plan the layout so lefties and righties both have clear swing arcs.
Choose a launch monitor that supports both handedness settings, and place it where both players can reach it easily. A mat with a movable tee position also helps.
Pro Tips:
- Test the layout with a lefty before you finalize it.
- Mark both stance positions on the floor.
Multi-Use Room with a Removable Screen
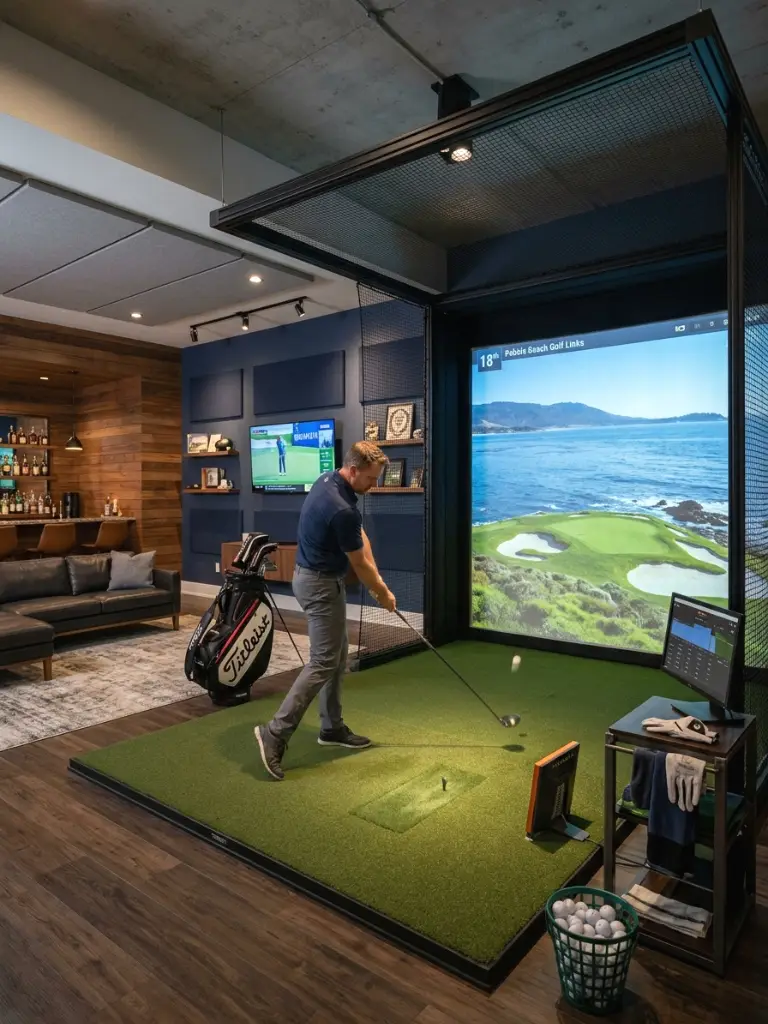
Not everyone has a spare room to dedicate. A removable or foldable screen lets you switch between golf, home gym, and family space. Roll the system out of the way when you finish and reclaim your floor.
Use a wall-mounted track or quick-release frame so setup takes minutes instead of hours. Store the mat and net in a nearby closet, and label every piece for easy reassembly.
Pro Tips:
- Keep the launch monitor in a small case beside the frame.
- Test the setup time so you know if it fits your routine.
Sleek Minimalist Scandinavian Style
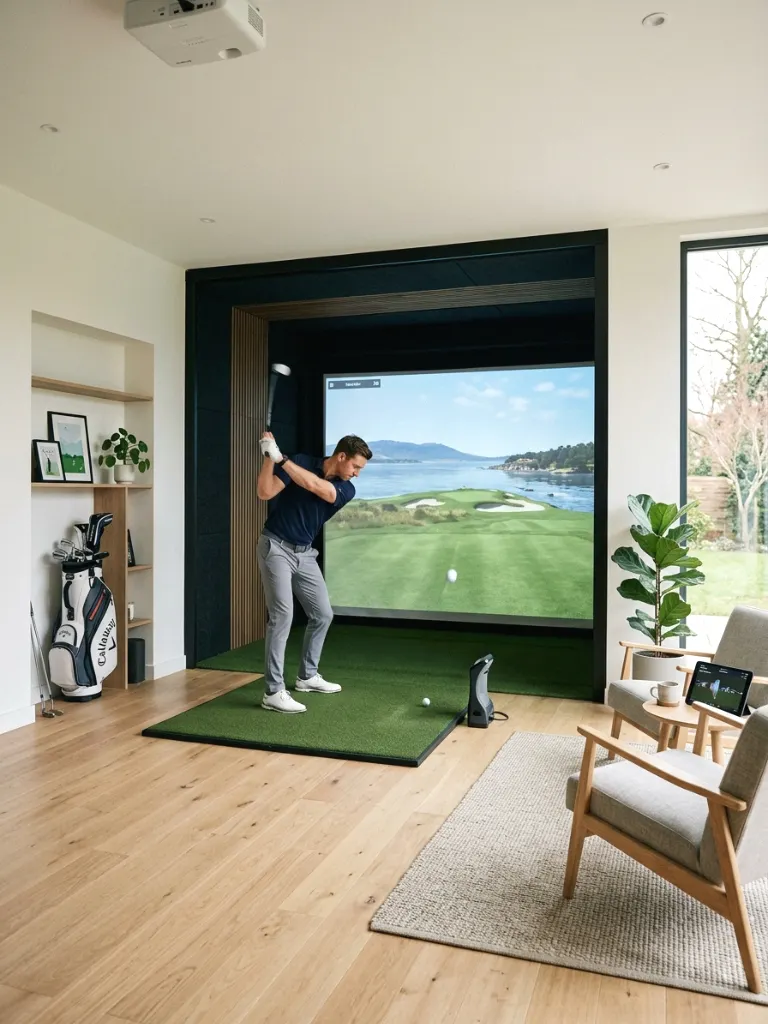
Prefer a bright, calm room over a dark cave? A Scandinavian-inspired bay uses light woods, soft grays, and clean lines. It feels modern and airy, and it blends into the rest of the house.
Keep the screen wall dark for image quality, then use light oak, white shelving, and simple lighting elsewhere. Hide clutter behind flat-panel cabinets to keep the minimalist look intact.
Pro Tips:
- Limit the palette to three colors.
- Choose textures like wool and linen for warmth.
Clubhouse-Style Traditional Golf Room
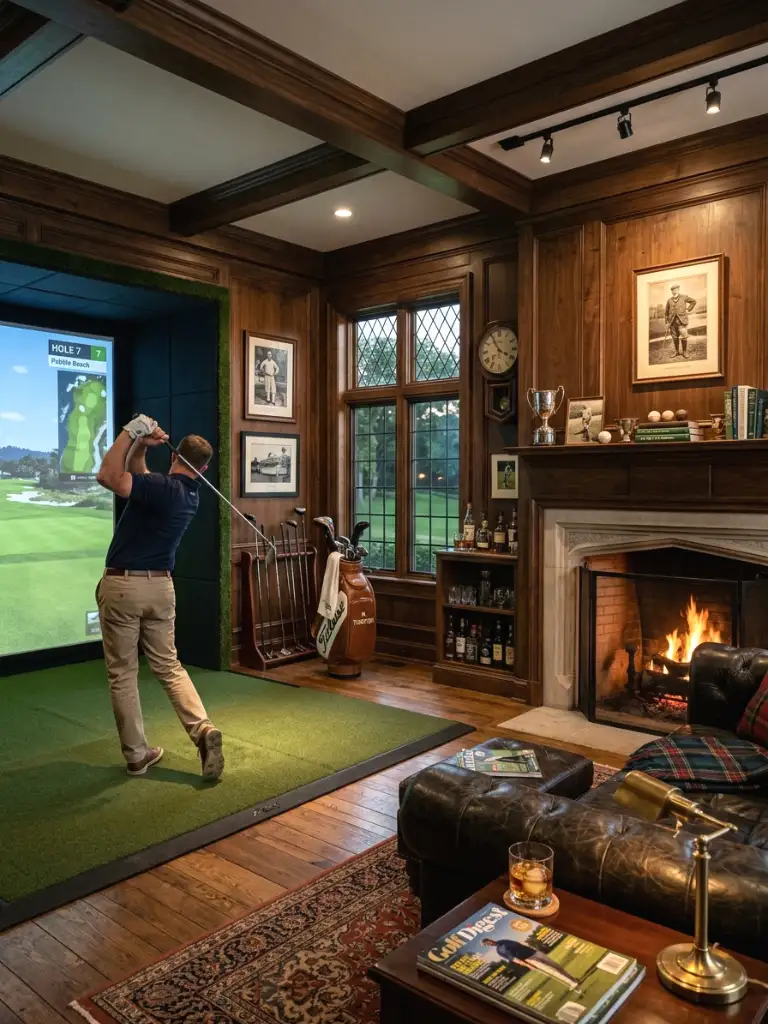
If you love the old-school country club look, lean into it. Deep green walls, leather chairs, brass accents, and framed scorecards make the bay feel like a members-only lounge. It suits players who love golf history.
Mix wood paneling with a dark screen wall, and hang vintage prints or course maps. Choose a rich rug outside the hitting zone to add warmth without hurting the swing area.
Pro Tips:
- Display a few personal trophies or memorabilia.
- Use warm bulbs to keep the mood cozy.
Smart Home Controls and One-Touch Scenes
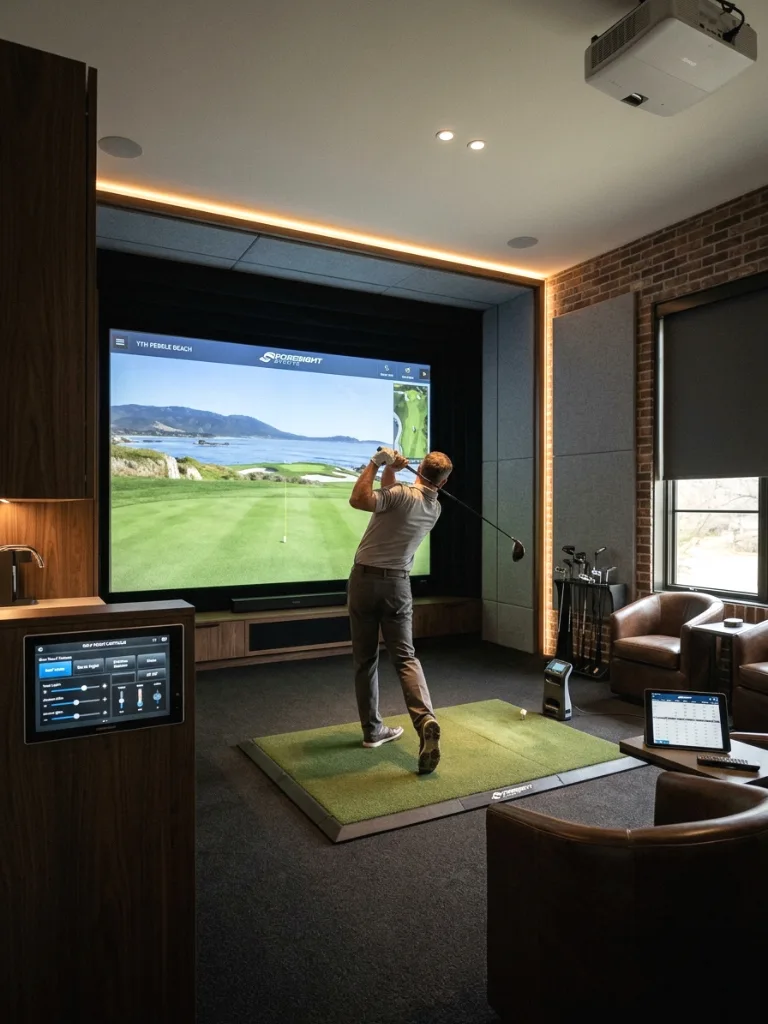
Turning on six devices before every session gets old fast. Smart home controls let you start the projector, dim the lights, and wake the simulator PC with one tap. Systems like Lutron, Alexa, and Google Home handle this well.
Build a “Play Golf” scene that powers everything at once, and add a “Shutdown” scene to turn it all off. Test each scene before guests arrive so nothing fails mid-round.
Pro Tips:
- Use a wall keypad as a backup to your phone.
- Group devices in the app by function.
Clean Cable Management and Tech Concealment
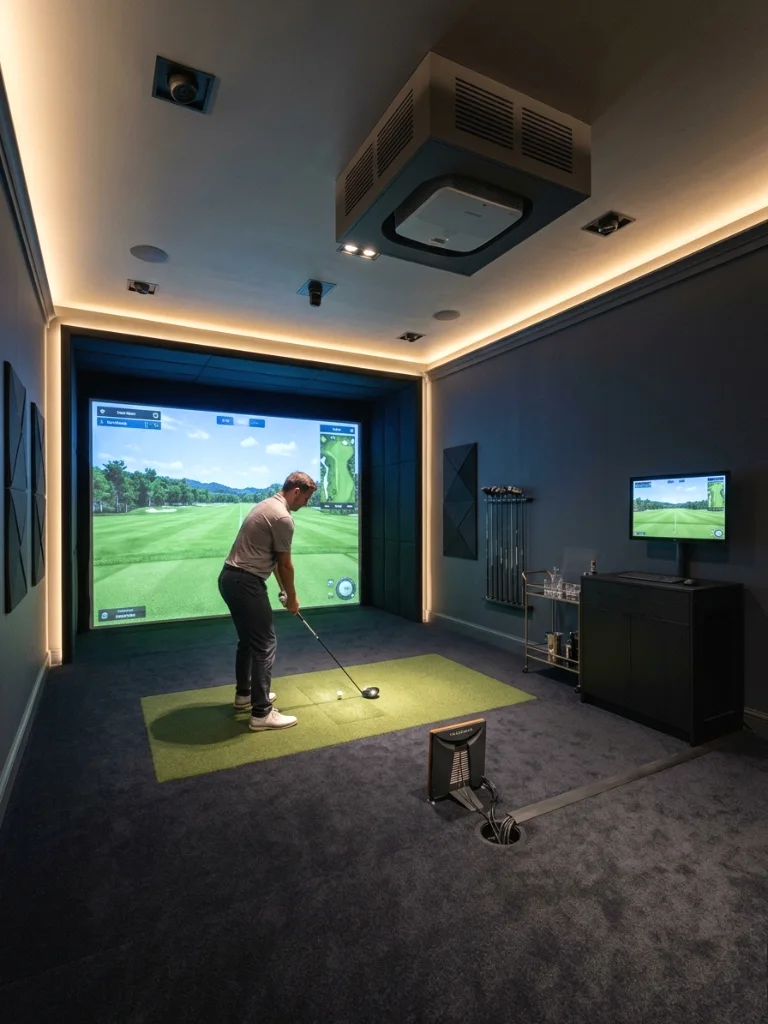
Cables ruin a good design. Conduit, raceways, and cable covers keep power and data lines out of sight and out of your swing. Your simulator PC, running software like E6 Connect, GSPro, or The Golf Club 2019, also deserves a tidy home.
Place the PC in a ventilated cabinet or closet with room for airflow, and run cables through the wall or ceiling. Label each cable so troubleshooting takes minutes instead of an evening.
Pro Tips:
- Leave a little slack near the launch monitor.
- Use surge protection for every powered device.
My Personal Experience, Maintenance Routine, and Recommendations
I built my first bay in a 12-by-18-foot garage corner, and I made every rookie mistake. I bought the projector first, guessed the mounting distance, and clipped the ceiling mount on my first driver swing. 😅 Measuring twice saved me on the second build.
Keep your bay healthy with this routine:
- Weekly: Vacuum the mat and wipe the launch monitor lens.
- Monthly: Check net tension, screen ripples, and mount bolts.
- Every season: Update software, inspect the hitting mat for wear, and test your surge protectors.
Here is the build order I recommend:
- Measure the room and your full swing arc.
- Pick your launch monitor, since it sets your depth requirements.
- Buy the impact screen and enclosure before anything decorative.
- Mount the projector and test the picture with the lights off.
- Finish the look with lighting, seating, and storage.
I recommend spending your first dollars on safety and image quality, then style. A pretty room with a weak screen costs more in the long run.
Final Thoughts
Great modern golf simulator room design blends practical layout with personality. You can go dark and moody, bright and Scandinavian, or classic clubhouse, and the room still works if the screen, launch monitor, lighting, and ceiling height line up. Start small, test often, and upgrade as you learn what you actually use.
Experiment with two or three of these ideas rather than trying all 30 at once. Save this post, pin your favorite layout, or send it to the friend who keeps asking about your bay. Your future self, hitting a 7-iron at midnight, will thank you.
FAQs
How big should a golf simulator room be?
Aim for at least 10 feet of ceiling height, 12 feet of width, and 15 feet of depth. Larger rooms give you more freedom, especially with radar launch monitors.
What ceiling height do I need for a golf simulator?
Ten feet works comfortably for most players. You can get by with 9 feet if you swing shorter or use a swing pocket, but always test your full driver swing first.
Which projector is best for a golf simulator room?
Look for 3,500 lumens or more, low input lag, and a throw ratio that fits your room. Optoma, BenQ, and Epson all make solid options.
Do I need a launch monitor for a home golf simulator?
Yes. The launch monitor tracks ball and club data and feeds it to the software. Camera-based units suit tight rooms, while radar units need more depth.
How much does a modern golf simulator room cost?
Budget setups with a Garmin R10 or Rapsodo often run a few thousand dollars, mid-range bays cost more, and premium builds with Foresight, Trackman, or Uneekor can climb much higher. Your room size and finishes drive most of the price.