
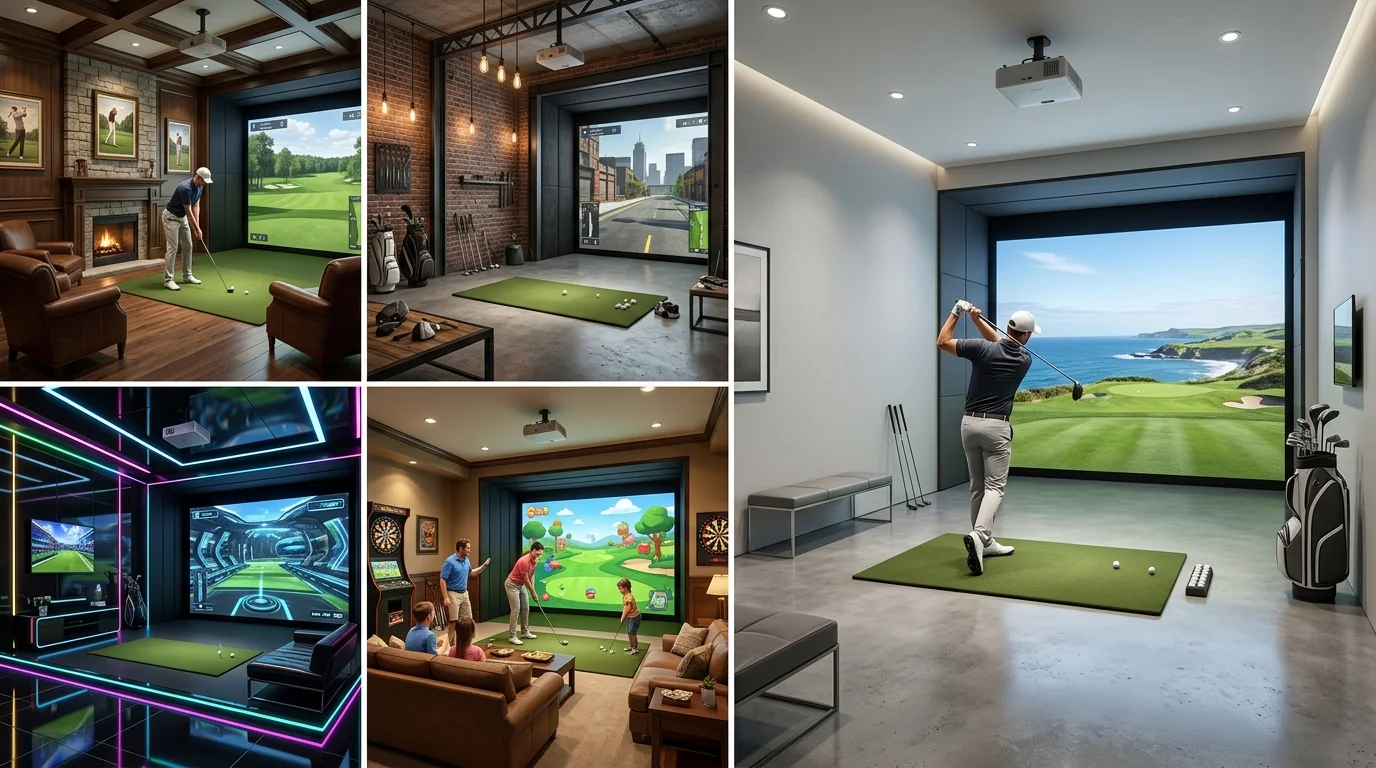
Ever stood in an empty basement wondering if it could actually become a golf simulator room, or if you’re just setting yourself up for an expensive storage closet? A solid golf simulator room design is the difference between a space you use three times before it collects dust and one you’re in every night after work.
This one’s for anyone converting a garage, basement, or spare room into their own personal course. Whether you’ve got a full budget or a shoestring one, you’ll walk away with real, buildable ideas – not just pretty pictures.
1. Nail Your Room Dimensions Before Anything Else
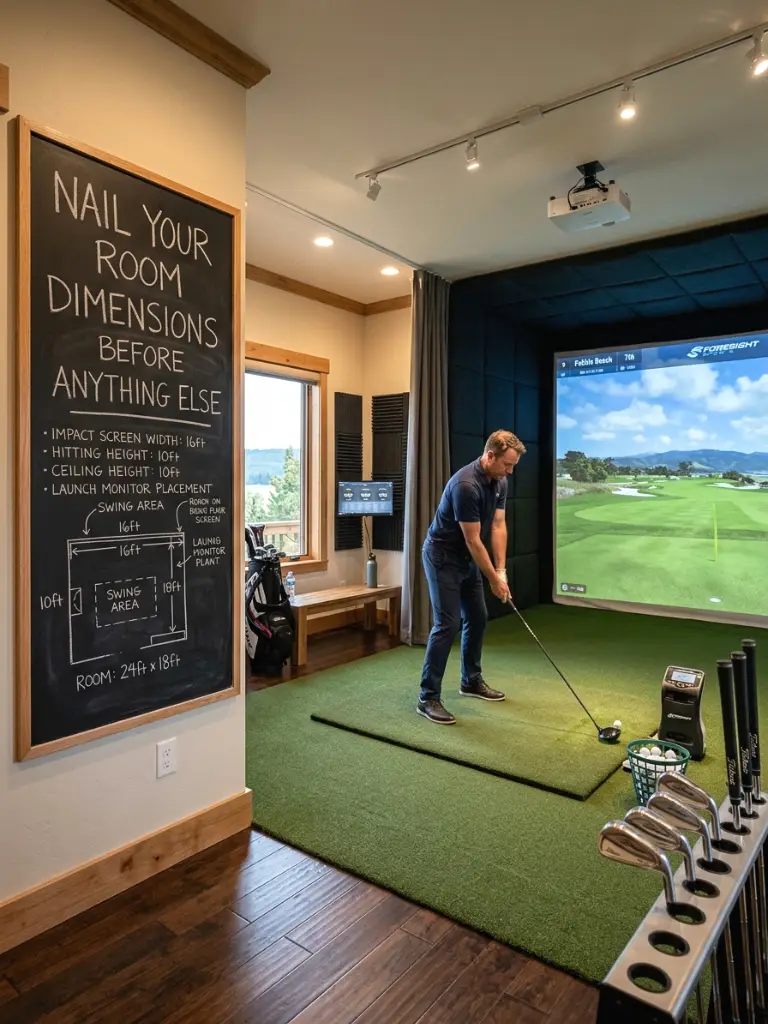
Before you buy a single piece of gear, measure your space. You need at least 10 feet of ceiling height for a full swing (more if you carry your driver high), around 15 feet of depth from hitting position to screen, and 10-12 feet of width. Skimp here and you’ll be clipping the ceiling with every backswing.
Measure with your tallest player and longest club in mind, not just yourself. A 12×16 room is the sweet spot for most home setups. It works because it gives you buffer room on both sides for stance adjustments and mis-hits.
- Check for ductwork or beams that eat into ceiling height
- Test your actual swing in the space with a club before committing
- Add a foot of buffer beyond the “minimum” specs you find online
2. Pick an Impact Screen That Matches Your Projector
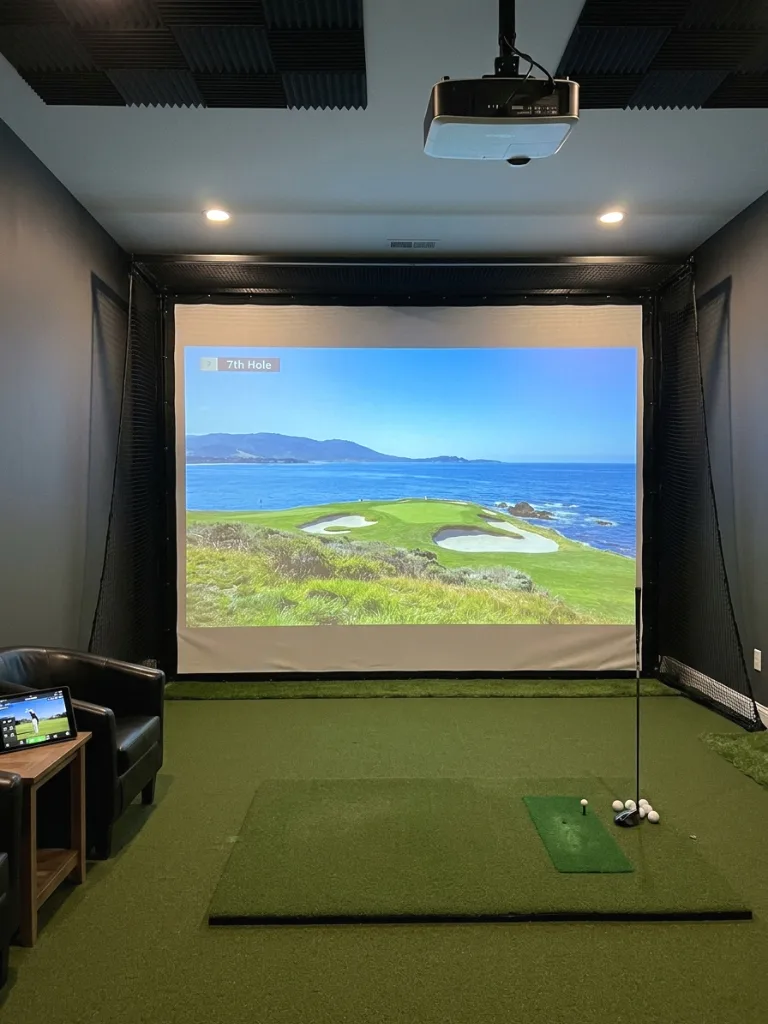
Your screen is the heart of the whole golf simulator room design, and not all of them are created equal. Look for a tensioned, multi-layer impact screen designed to absorb ball speeds without excessive bounce-back or noise. Cheaper screens can wear out fast and start showing wrinkles that mess with tracking.
Match your screen size to your throw distance and projector lumens. Bigger isn’t always better if your projector can’t fill it with a bright, crisp image. A 10×10 screen suits most rooms perfectly.
- Buy a screen rated for your simulator brand’s ball speeds
- Get a short-throw projector if ceiling height is tight
- Replace the screen every few years if you golf often
3. Choose Between an Enclosure and an Open Room
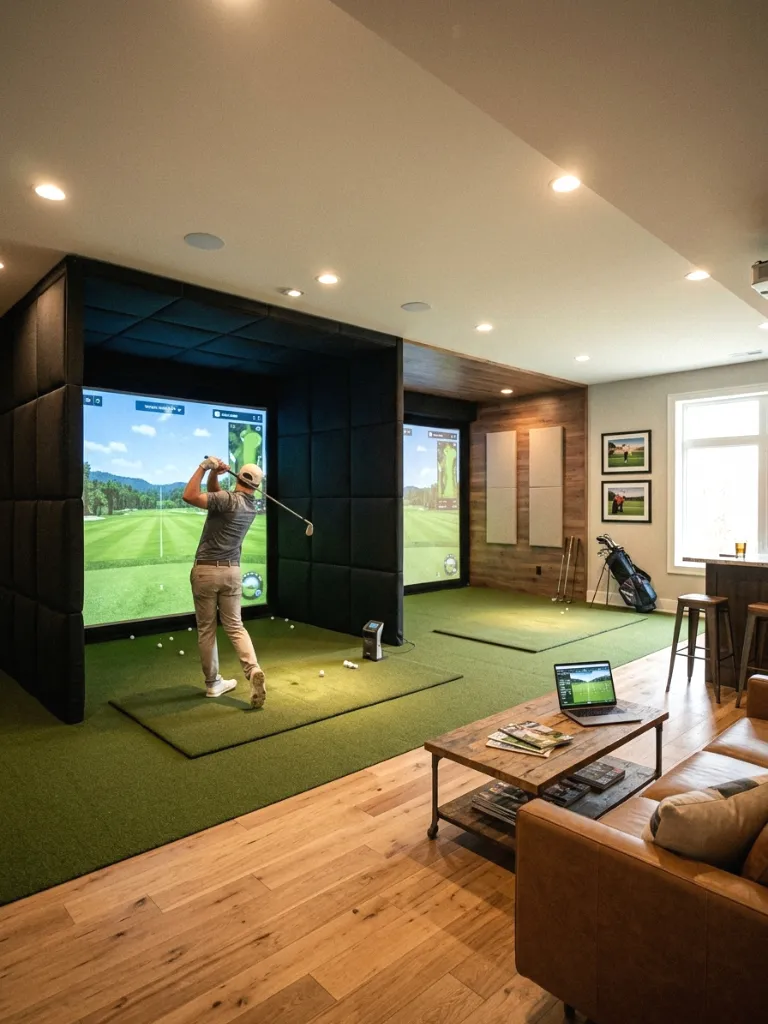
You’ve got two paths here: a dedicated netting/frame enclosure, or an open room where the walls and ceiling do the containing work. Enclosures are great for garages or multi-use spaces since they pack away or stay contained to one zone. Open rooms feel more immersive but need serious wall protection.
I went with an open room design, and honestly, it makes the whole space feel like a real golf lounge instead of a cage. It works best if the room is dedicated solely to golf.
- Use an enclosure if the room doubles as a gym or storage
- Reinforce ceiling and side walls regardless of which you pick
- Leave walking clearance around the enclosure frame
4. Get the Flooring Right With Turf and Impact Mats
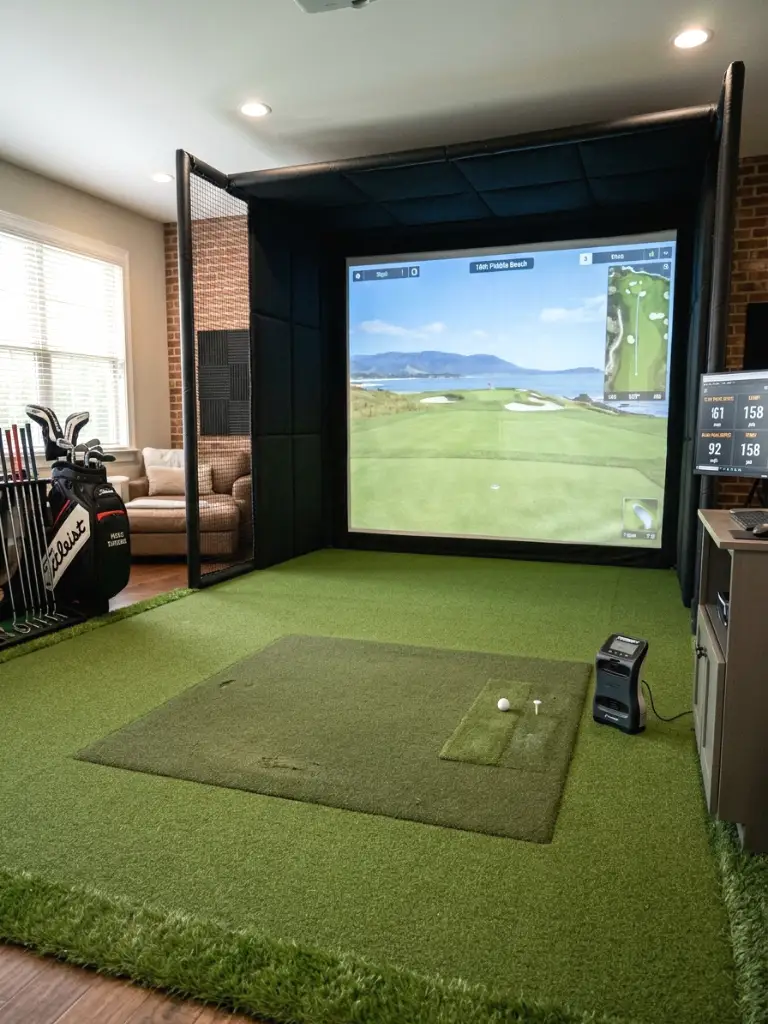
Flooring takes more abuse than people expect. A quality golf turf paired with a shock-absorbing impact mat under your hitting zone protects your joints and your subfloor. Skip the mat and you’ll feel every shot in your knees within a month.
Pick turf with a realistic pile height that mimics fairway conditions. Combine it with side mats on either side of your stance so mishits don’t tear up your subfloor.
- Get a mat rated for irons AND drivers
- Add turf glue strips so edges don’t curl over time
- Replace side mats first since they wear out faster
5. Design Lighting That Doesn’t Wash Out the Screen
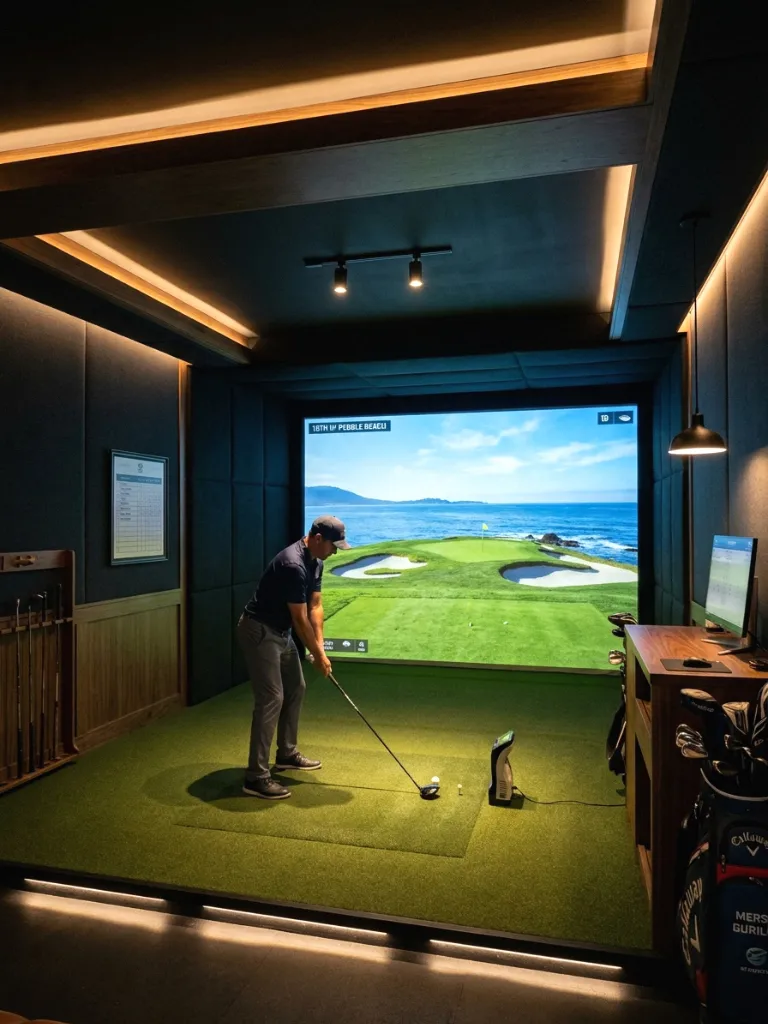
Bad lighting is the silent killer of a golf simulator room design. Any light hitting the screen directly creates glare and throws off ball tracking. You want ambient lighting around the room’s perimeter, not overhead spots pointed at your hitting bay.
Go with dimmable LED strips along the ceiling edges and walls. Recessed lighting positioned behind the hitting line keeps the screen dark and clear while still lighting up the lounge area.
- Install a dimmer switch near the hitting zone
- Avoid any light source directly across from the screen
- Use warm-toned bulbs in the lounge for a clubhouse feel
6. Soundproof the Room So the Whole House Doesn’t Hear Every Drive
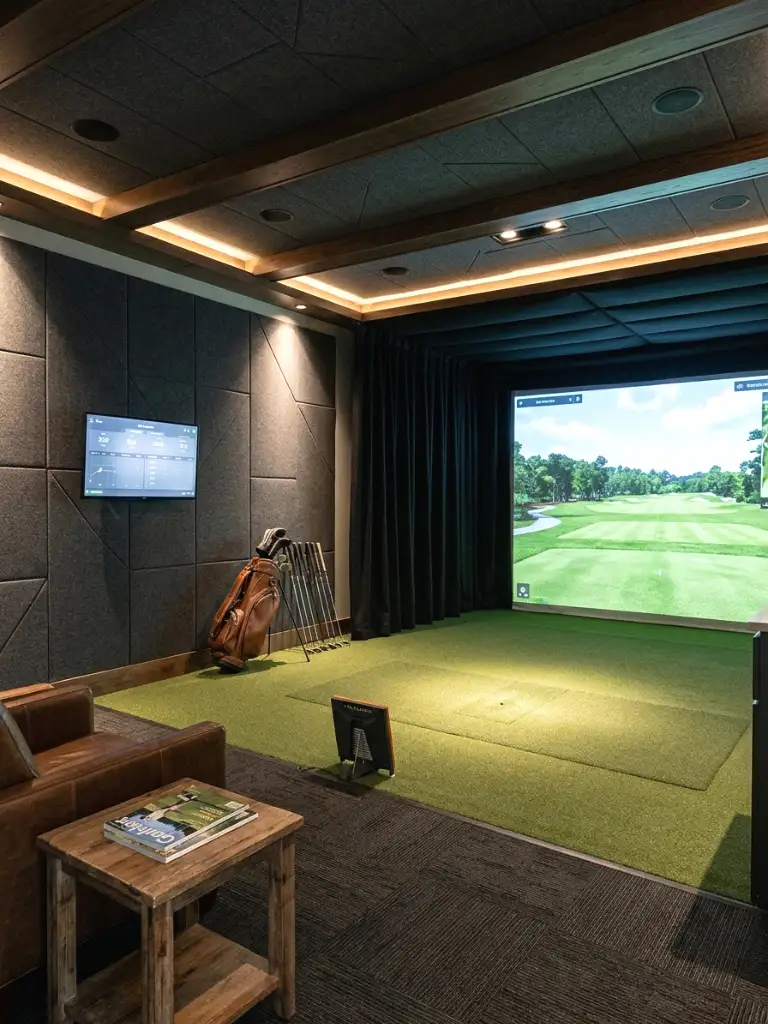
Golf clubs make a genuinely loud crack on contact, and that sound travels. Acoustic panels on the walls and a door sweep at the bottom of your entry door cut down noise dramatically. This matters double if your simulator sits near bedrooms or a home office.
Layer foam panels behind fabric wall coverings so they blend into your decor instead of looking like a recording studio. It works because sound absorption and style don’t have to be separate decisions.
- Focus panels on the wall directly behind the screen
- Add a rug to absorb footstep and equipment noise
- Weatherstrip the door frame, not just the bottom
7. Position Your Launch Monitor for Accurate Reads
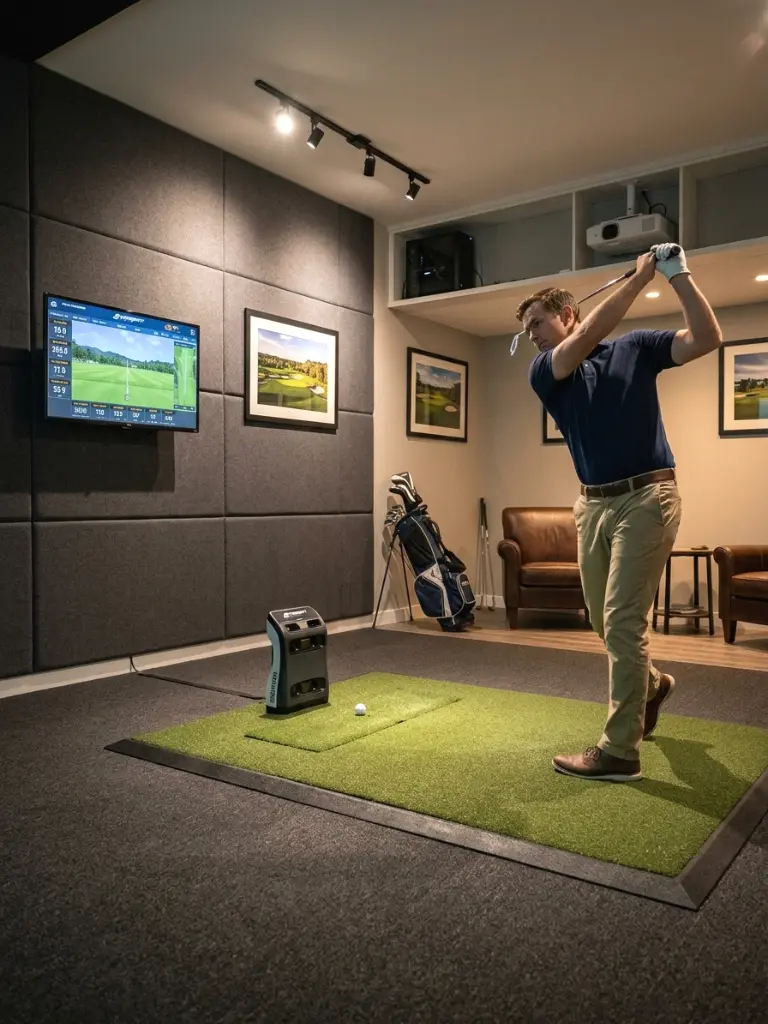
Where your launch monitor sits changes everything about shot accuracy. Overhead units mount near the ceiling above the hitting zone, while ground-based units sit a few feet behind or beside the ball. Get the placement wrong and your numbers will be consistently off.
Follow the manufacturer’s exact placement specs down to the inch. Consistency is what makes it work – moving the unit between sessions throws off calibration every time.
- Mark the exact floor position with tape so you never guess
- Keep the unit clear of turf fibers that block sensors
- Recalibrate after any room rearrangement
8. Build a Real Seating and Lounge Zone
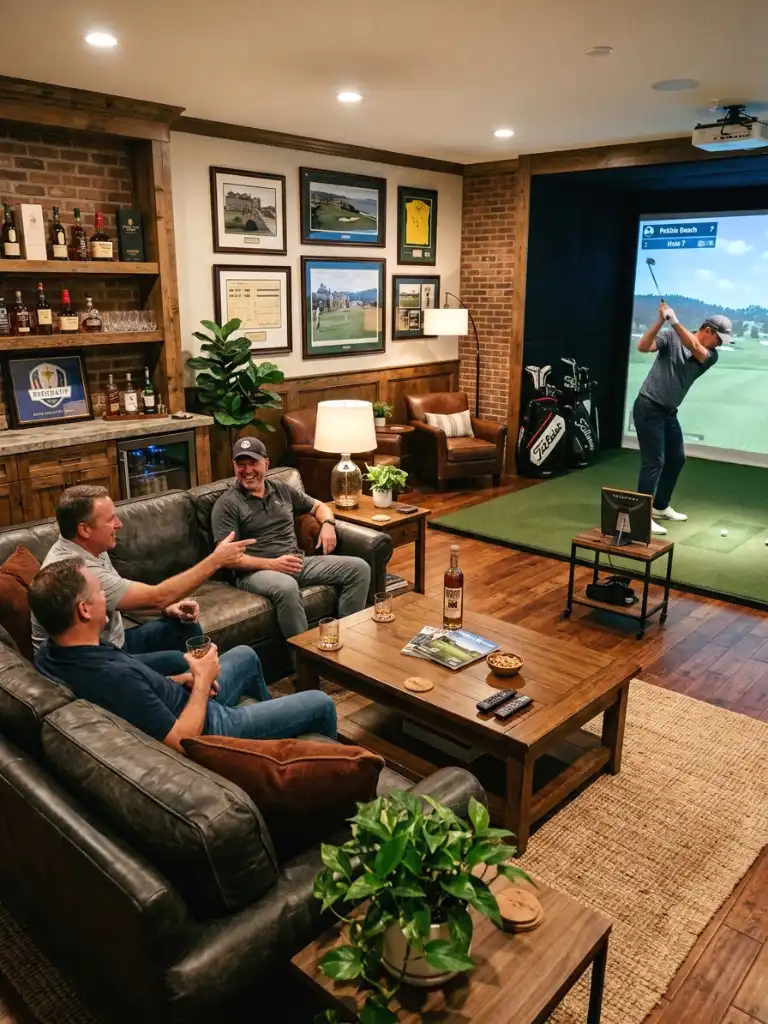
A golf simulator room isn’t just a hitting bay, it’s a hangout spot. Set up a couch or a couple of recliners angled toward the screen so people watching can actually see the shot tracer. This is where the room goes from “gear closet” to “space people want to be in.”
Leave enough distance so seating doesn’t intrude on backswing space. A sectional against the back wall works well because it doubles as extra storage underneath.
- Choose leather or performance fabric for easy cleanup
- Add a side table for drinks and scorecards
- Position seating so the TV/stats screen is also visible
9. Add a Mini Bar or Beverage Station
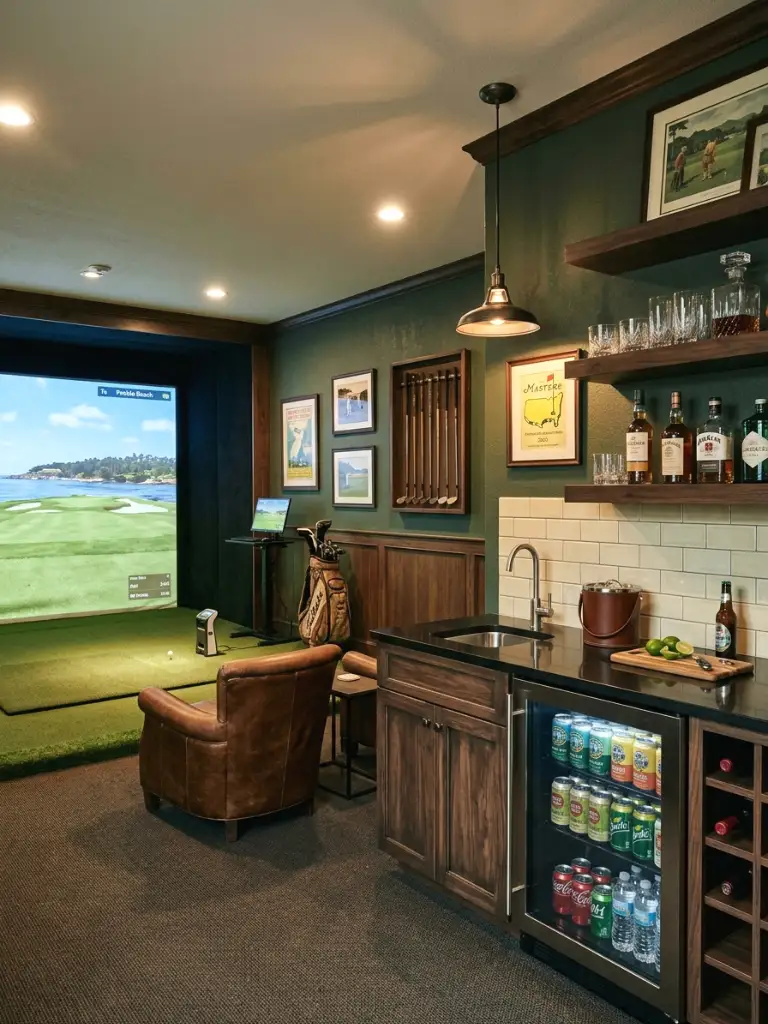
IMO, this is the detail that turns a simulator room into an actual clubhouse. A small bar cart or built-in mini fridge with a few stools nearby gives the space a social hangout feel, especially for group sessions.
Keep it compact – a mini fridge and a shelf for glassware is plenty. It works because it keeps everyone in the room instead of running upstairs between rounds.
- Stock it with drinks that won’t spill easily near turf
- Add a small ice bucket instead of a full ice maker
- Keep glassware on a shelf, not the floor, near the hitting zone
10. Bring in Golf-Themed Wall Art and Decor
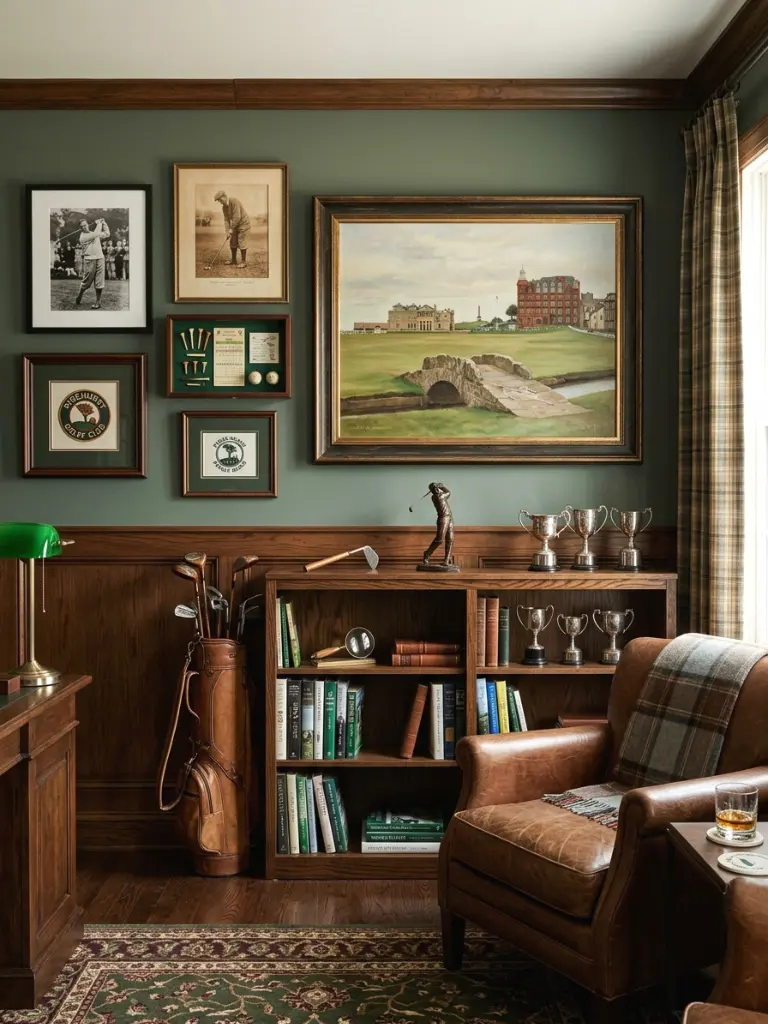
Blank walls make any room feel unfinished. Framed course photography, vintage golf ads, or a large map of famous courses adds personality without cluttering the space. This is where your personal taste really gets to show.
Mix a few statement pieces with smaller accents rather than covering every inch. Odd-numbered groupings (three or five frames) tend to look more intentional than even ones.
- Keep large art off the wall directly behind the screen
- Use frameless canvas prints near hitting zones to avoid glass breakage
- Rotate seasonal pieces to keep the room feeling fresh
11. Set Up Smart Storage for Clubs and Gear
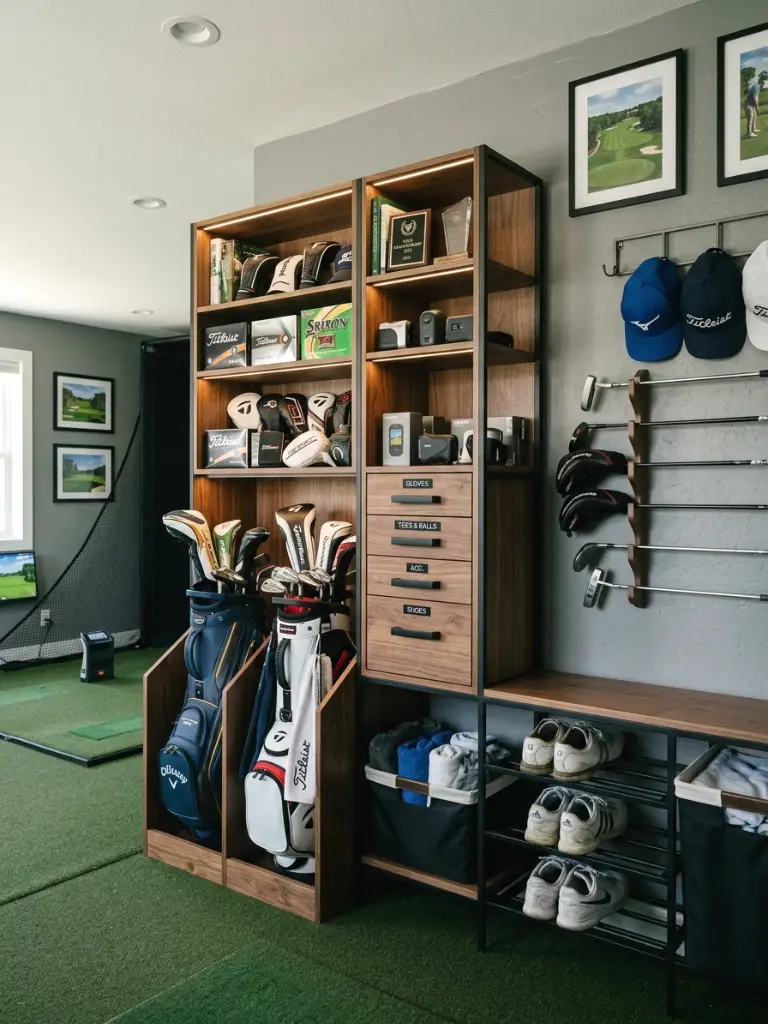
Clubs, balls, gloves, and shoes pile up fast. A wall-mounted rack or a slim cabinet keeps everything organized and out of the hitting area. Nothing kills the vibe like tripping over a golf bag mid-swing.
Vertical storage saves floor space in smaller rooms. Open cubbies work better than closed cabinets here since you’ll grab gear constantly during sessions.
- Label cubbies if multiple people share the space
- Store balls in a bin, not loose on shelves
- Keep a small bench nearby for putting on shoes
12. Add a Putting Green Strip Along One Side
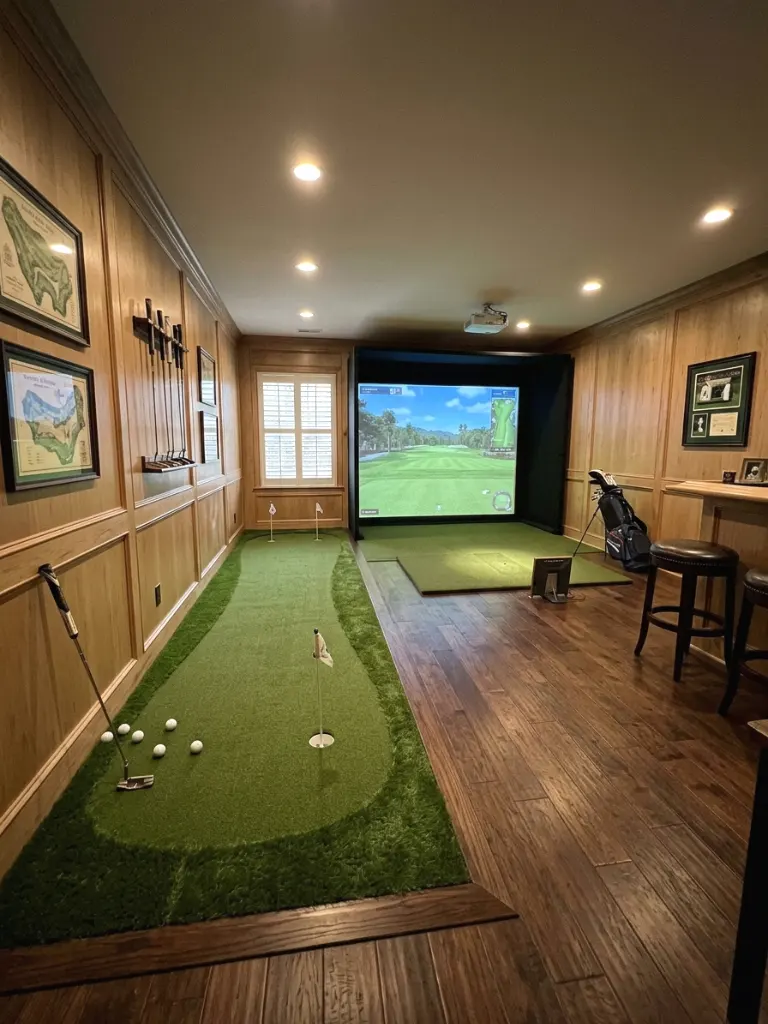
If you’ve got the extra footage, a strip of putting green along a side wall lets you work on your short game between simulator rounds. It doesn’t need to be huge – even 8-10 feet adds real practice value.
Use a green with a slight break built in for realistic reads. This works especially well in longer, narrower rooms where the extra length is otherwise wasted space.
- Add a return cup system so balls roll back to you
- Keep the green separate from the main hitting turf
- Use contrasting turf colors to visually define each zone
13. Design for Multi-Sport Simulator Use
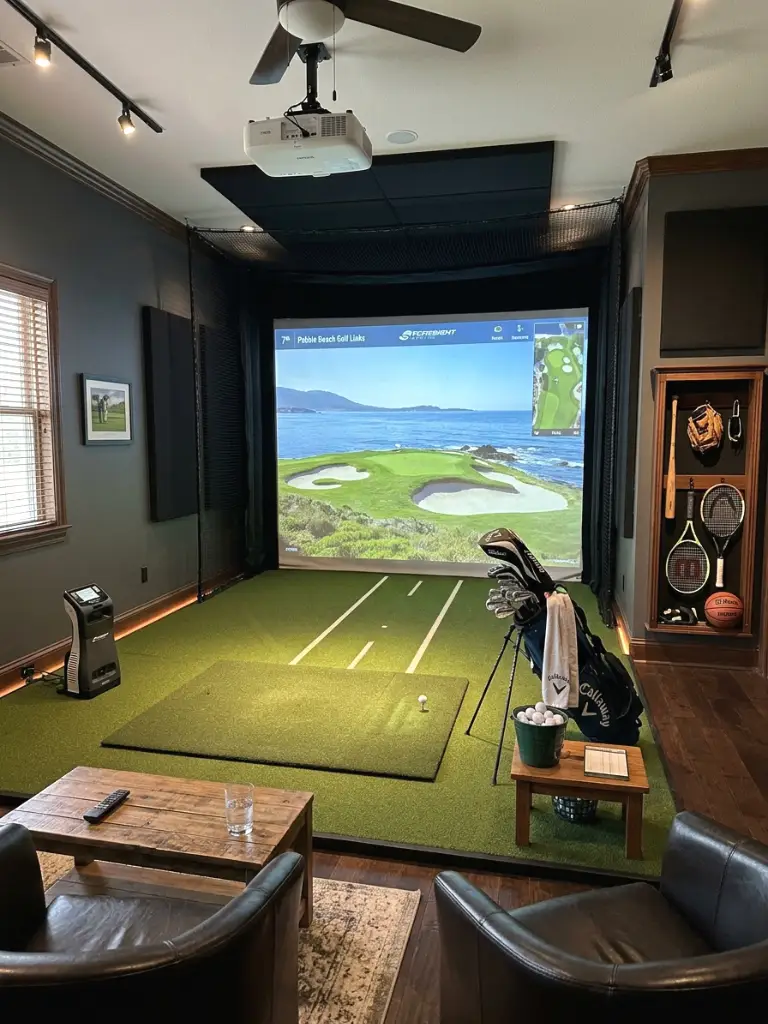
A lot of simulator setups now support more than golf, think baseball, soccer, or even hockey shooting drills. If your household has mixed interests, plan your screen size and floor space to handle that from day one.
Choose simulator software with multi-sport licensing if this matters to you. It works because it keeps the room in use year-round, not just during golf season.
- Confirm your launch monitor supports multi-sport tracking
- Use durable turf that handles different ball types
- Store sport-specific gear in labeled bins
14. Get Climate Control and Ventilation Sorted
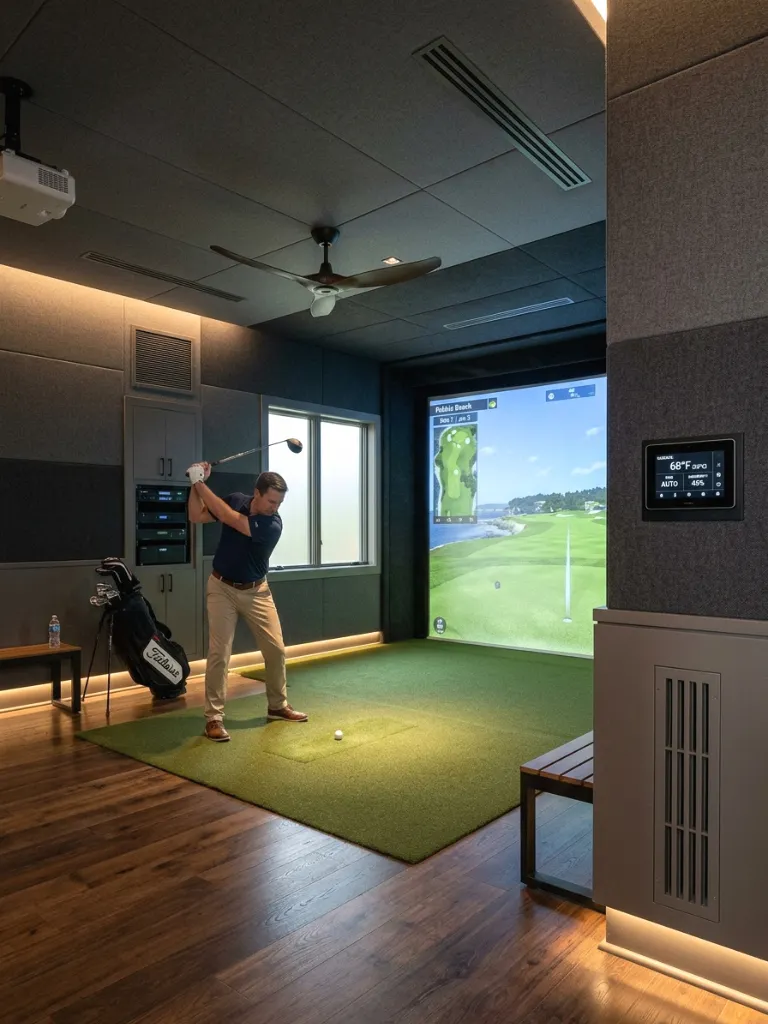
Basements and garages run hot or cold fast, and nobody wants to golf in a sweatbox. A dedicated mini-split unit or at least a strong ceiling fan keeps the room comfortable through every season.
Insulate walls and the ceiling if it’s a garage conversion. This works because temperature swings also affect your equipment – electronics don’t love extreme heat or cold.
- Add a dehumidifier if the space is prone to moisture
- Vent projector housing to prevent overheating
- Insulate the garage door if that’s your entry point
15. Set Up a Stats Screen Separate From the Hitting Screen
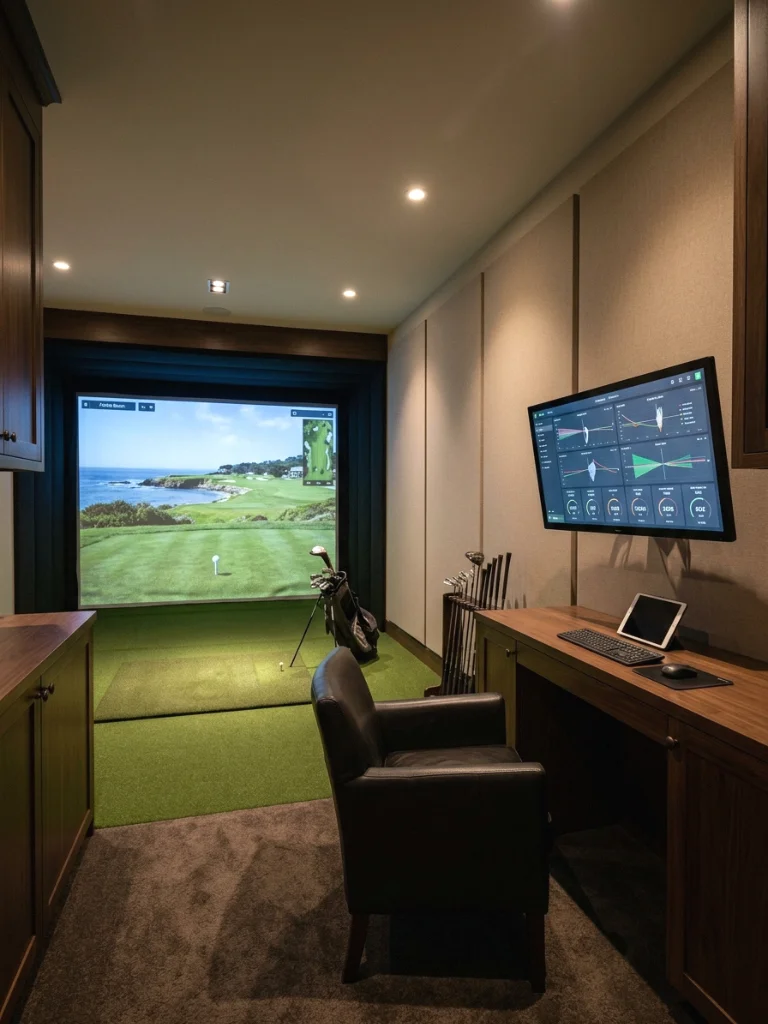
A secondary TV or monitor off to the side for pulling up stats, replays, or scorecards keeps your main impact screen clean and focused on the shot itself. Ever tried squinting at tiny numbers on your main screen mid-swing? Not fun.
Mount it at eye level near the seating area, not the hitting zone. It works because it separates “performance mode” from “hitting mode” so neither gets cluttered.
- Wall-mount it to save floor and table space
- Keep the same software feed synced across both screens
- Angle it toward seating, not the tee box
Personal Experience and Maintenance Before You Wrap This Up
Honestly, the biggest lesson I learned building my own space was to over-invest in flooring and lighting before worrying about decor. Nobody notices the wall art on day one, but everybody notices bad glare or a mat that’s already breaking down after two months.
On maintenance: vacuum the turf weekly, check your screen for wrinkles or slack every month, and recalibrate your launch monitor any time you move furniture. A little upkeep now saves you from replacing expensive gear later.
Wrapping It Up
Building a great golf simulator room design isn’t about throwing money at the flashiest gear, it’s about getting the fundamentals right: room dimensions, screen quality, flooring, and lighting. Get those locked in, and the fun stuff (the bar, the decor, the putting green) all falls into place naturally.
Start with one or two upgrades from this list if you’re not ready to overhaul everything at once. Save this post, share it with whoever’s helping you build the space, or bookmark it for your next round of upgrades.
FAQs
How much space do I need for a golf simulator room?
Aim for at least 10 feet of ceiling height, 15 feet of depth, and 10-12 feet of width for comfortable swings with any club in the bag.
Do I need a full enclosure or can I use an open room?
Either works. Enclosures suit multi-use spaces like garages, while open rooms feel more immersive but need reinforced walls and ceilings.
What flooring is best for a golf simulator?
A combination of golf turf and a shock-absorbing impact mat protects both your joints and your subfloor from repeated impact.
How do I stop simulator noise from bothering the rest of the house?
Acoustic panels, a door sweep, and a rug go a long way toward containing the crack of clubface-on-ball sound.
Can I add a putting green to my simulator room?
Yes, even a narrow 8-10 foot strip along one wall adds real short-game practice value if you have the extra footage.